

Migrating a Database to Azure
Set Up a Database Server
Azure comes with a wealth of options for the Database type. As the Apps developed in these tutorials used SQLServer we'll match this deployment on Azure. However, be aware that other options such as NoSQL Azure Cosmos, and open source Databases like MySQL, are also supported by Azure.
To use SQLServer (as the name implies) we need a Server before we can create a database. The creation of a database will prompt the creation of a Server if you haven't created that resource.
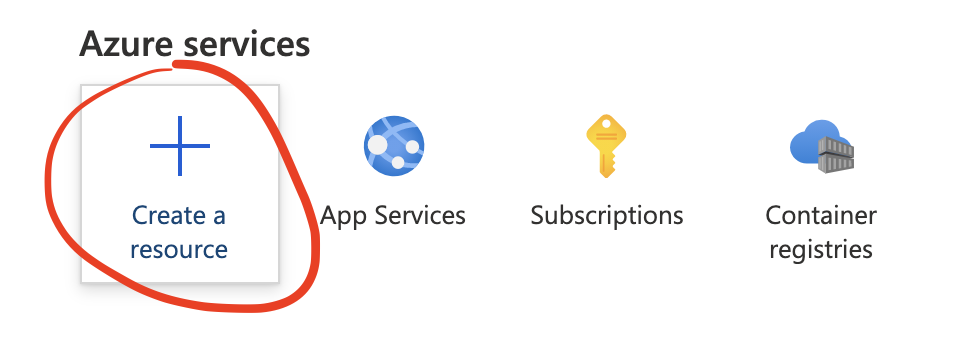
Create a New Resource:
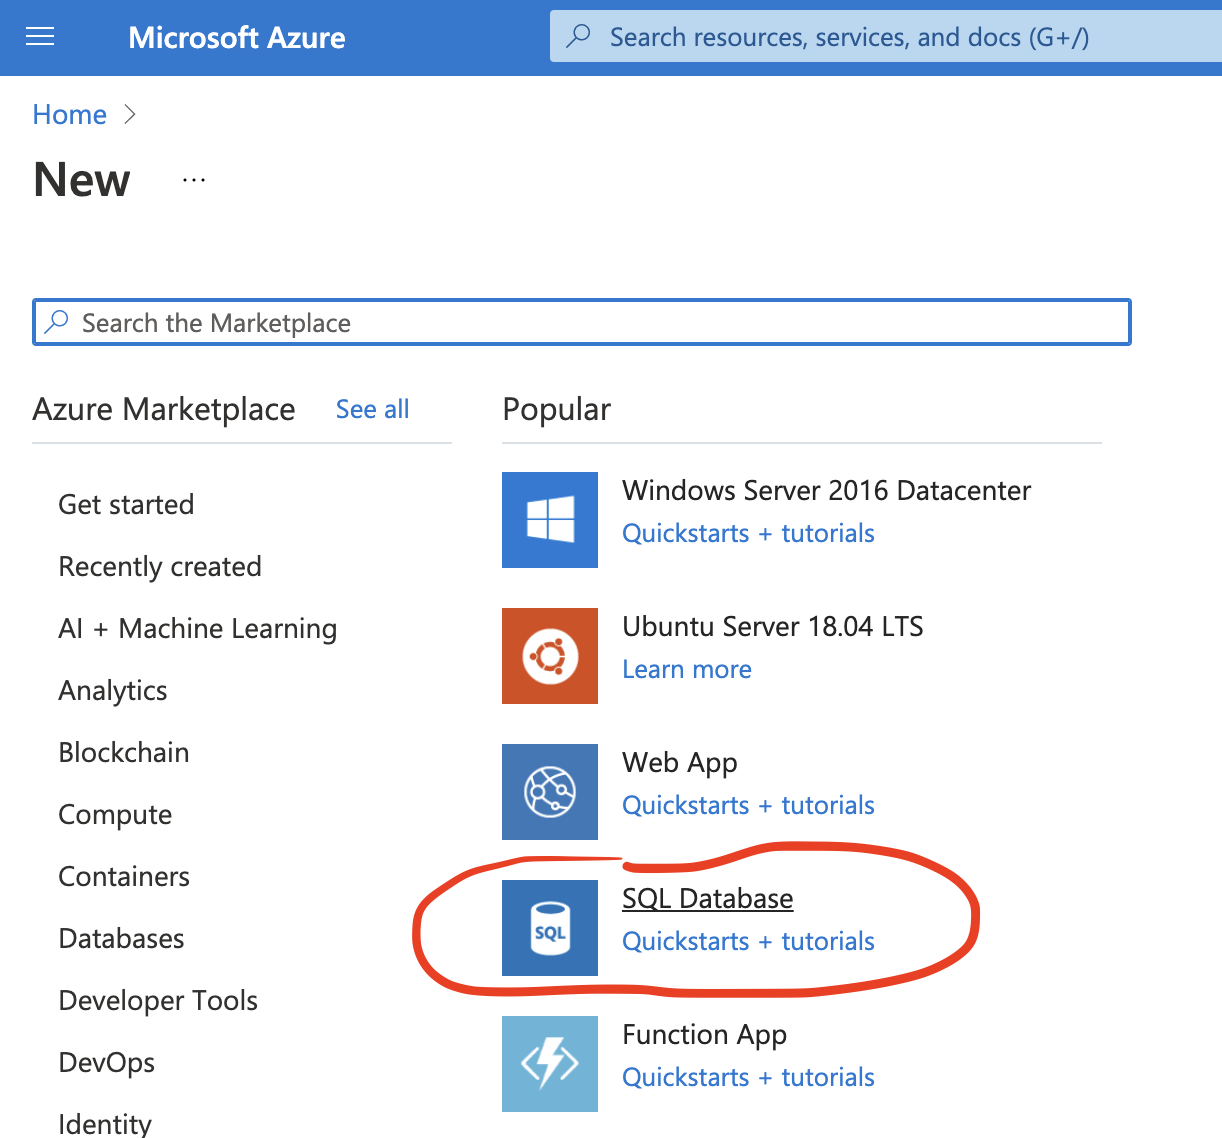
Choose SQL Database:
In the Create SQL Database section set the following:
Project Details
- Subscription:
- Use your Azure for Students subscription.
- Resource Group:
- Use the same Resource Group used when setting up the Web App.
Database Details
Add a database name. It will prompt you to enter an appropriate name.

Add a Server. If this is your first database then you'll need to create a server via the Create New option.
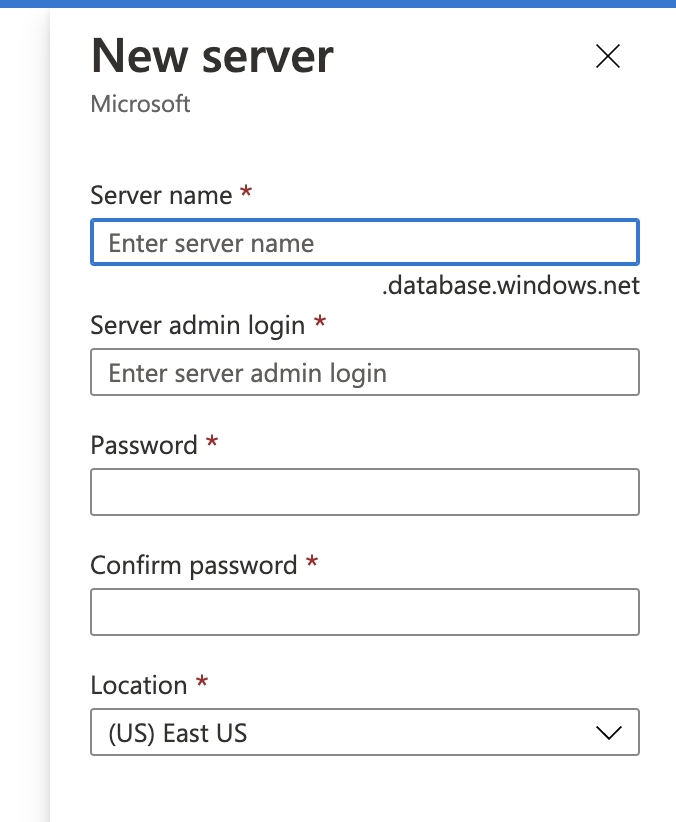
Messages will help ensure you use an appropriate server name as well as setting an admin name and password. Set the location to (Europe) UK South.
Keep a note of these credentials as well as the domain of the server. Notice it is a sub-domain of *.database.windows.net
Leave the Elastic Pool setting on No as we are only using one database. One database, can of course, contain many tables.
Under Compute + Storage amend the database type to a more cost effective option by looking at the estimated cost.
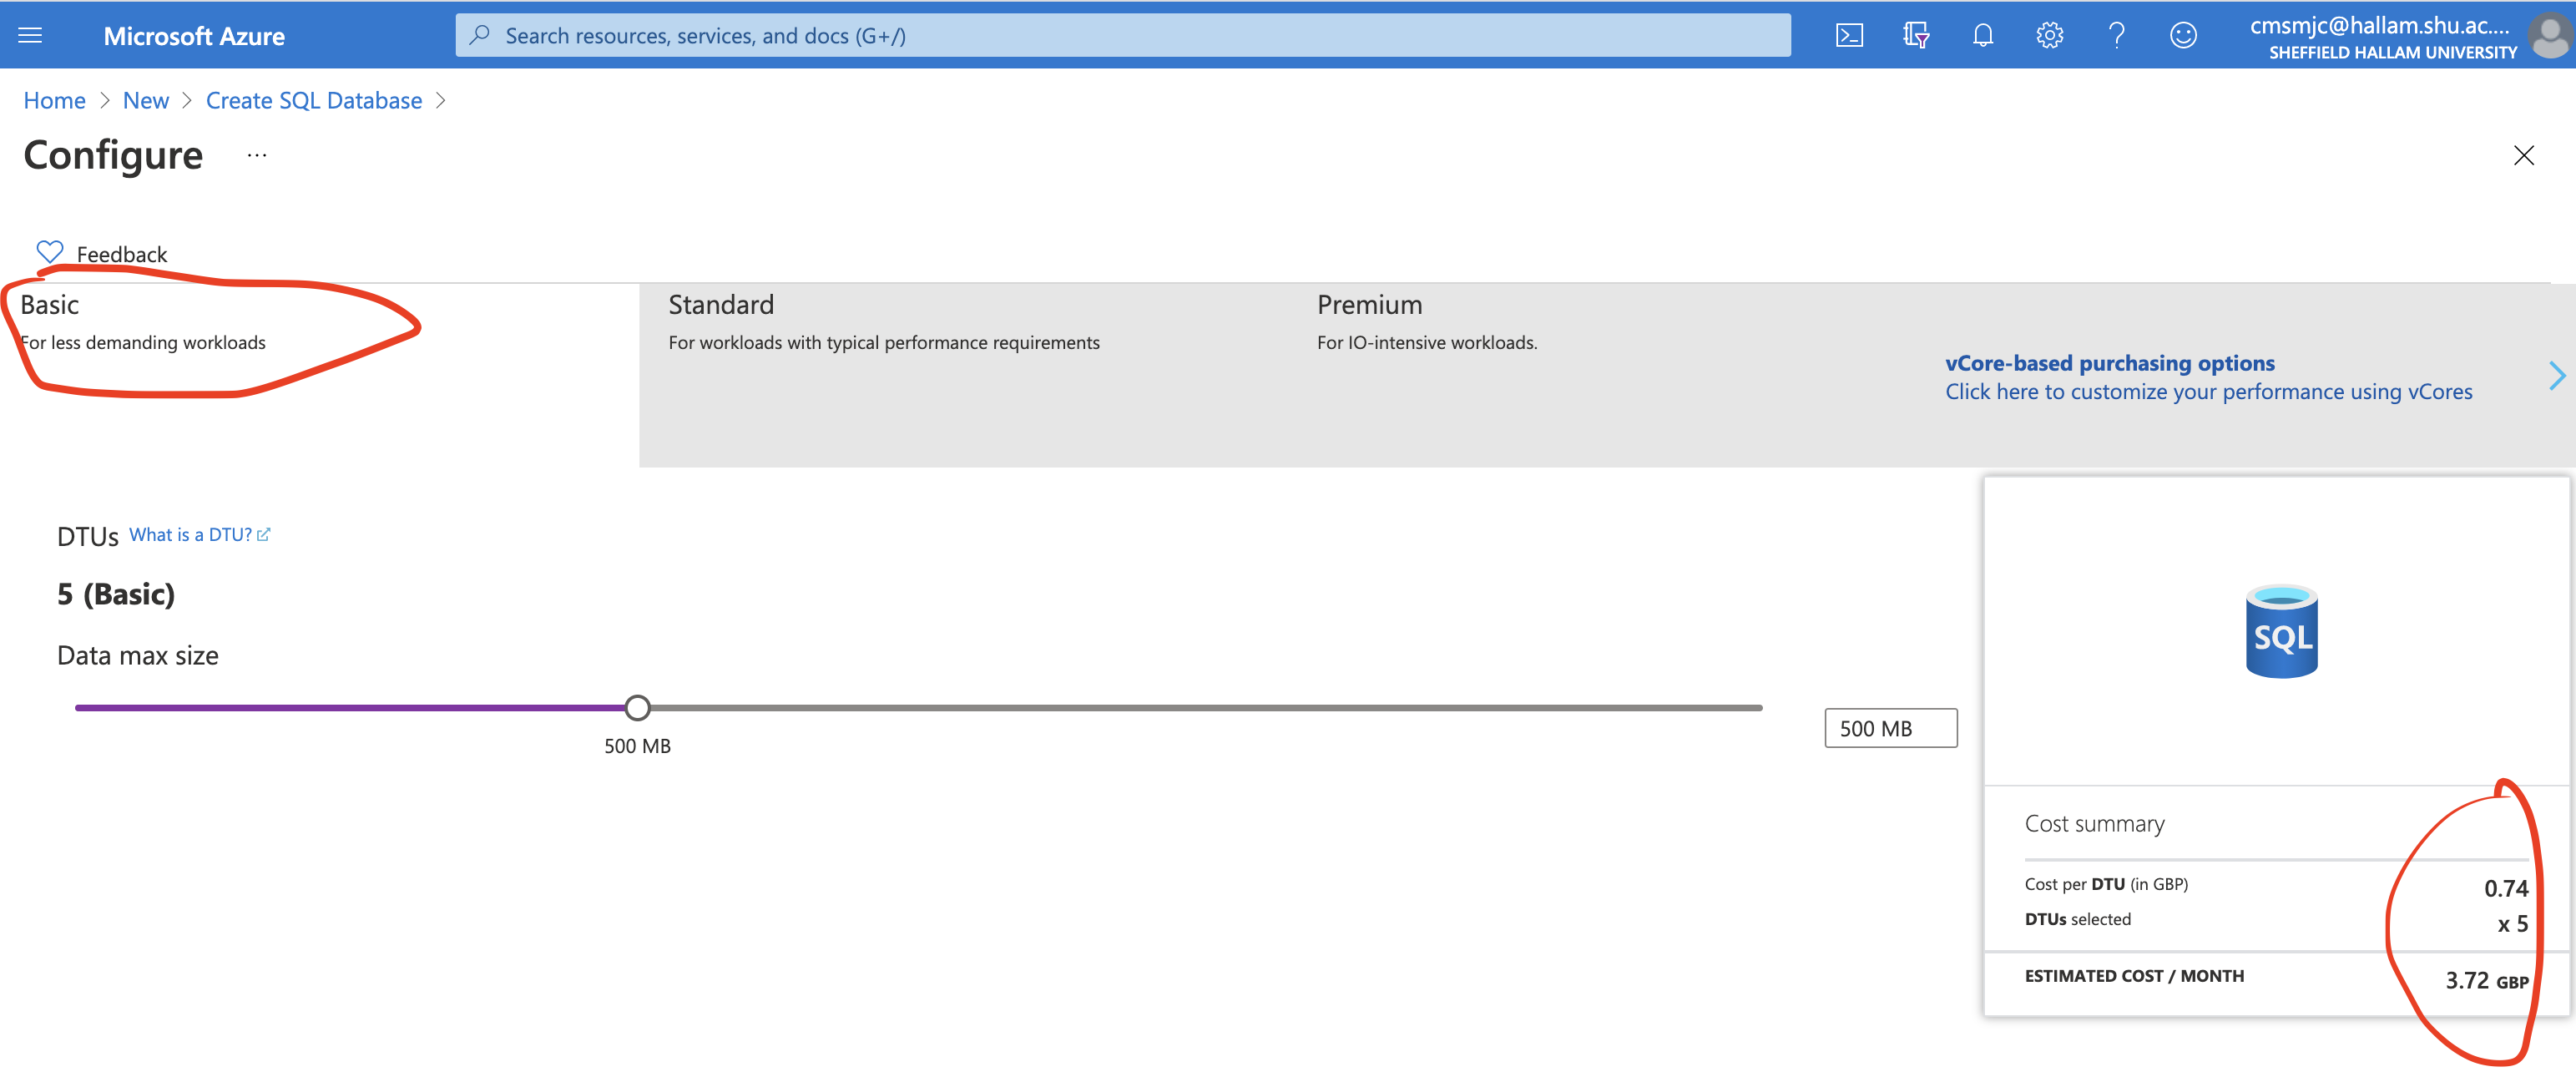
Review and Create your Database and Server. Again keep an eye on the pricing!
Once happy with the setting it can be deployed.
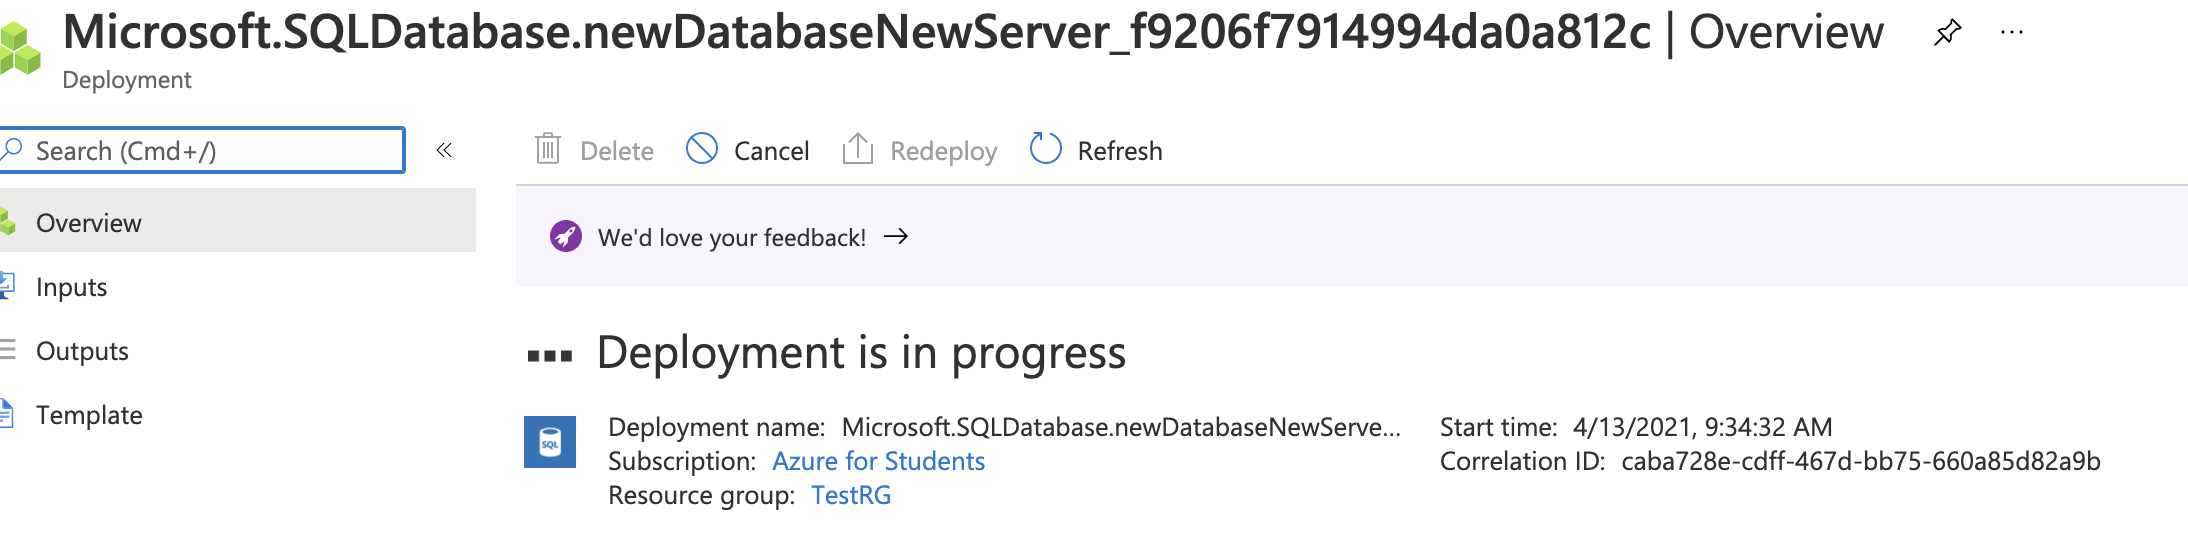
Once deployed (will take a minute of so) you'll be able to navigate to the resource.
Notice you will have created a server (name in brackets) and a database. The QuickStart link provides information on how the database can be used. We are going to use the Azure Data Migration Assistant.

Set up the Database for use with other Azure Services
Navigate to the Server Configuration by clicking on the Server name. Click on the Show firewall settings.
Change Allow Azure services and resources to access this server to Yes..
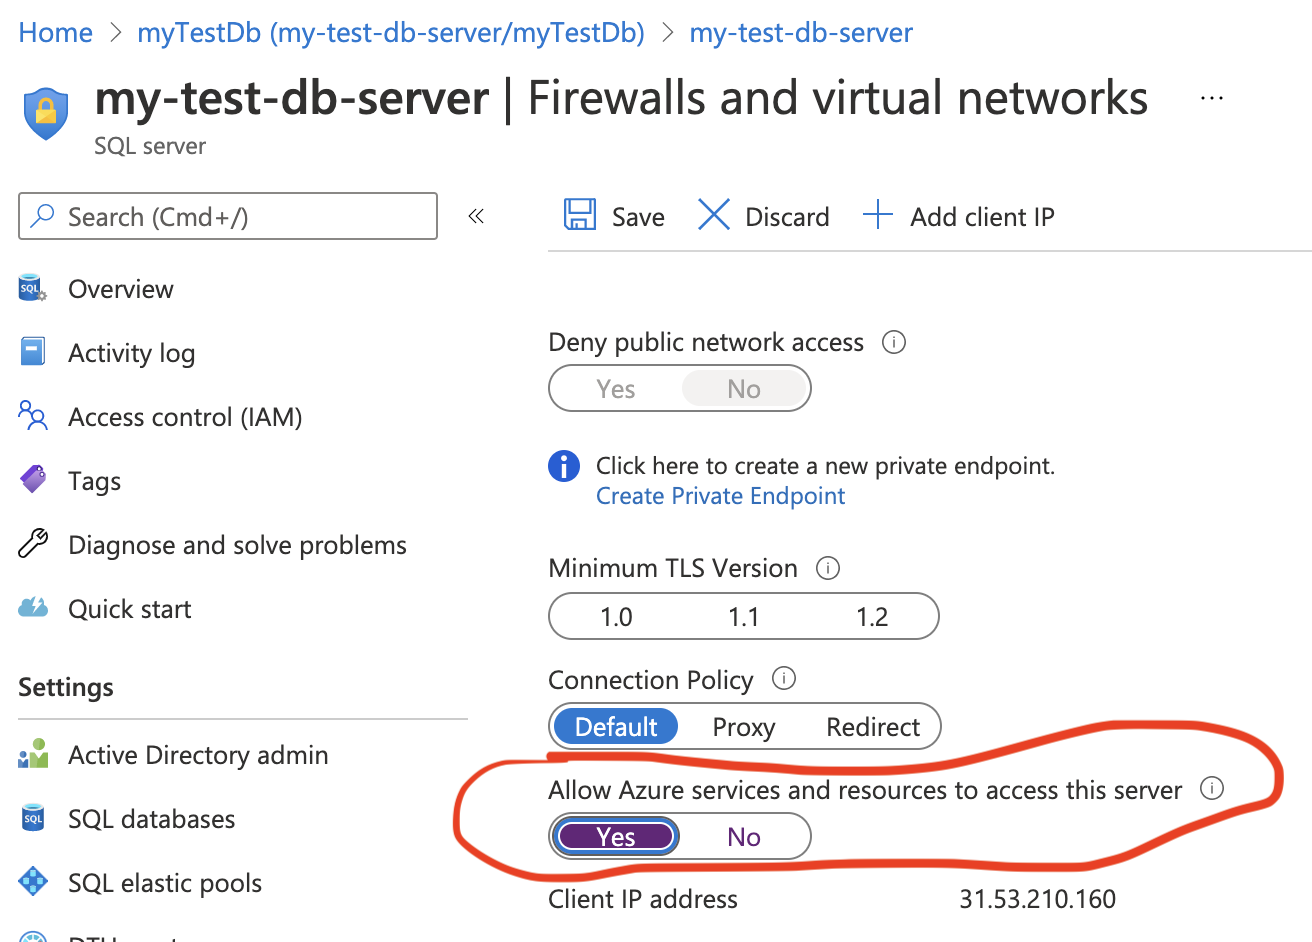
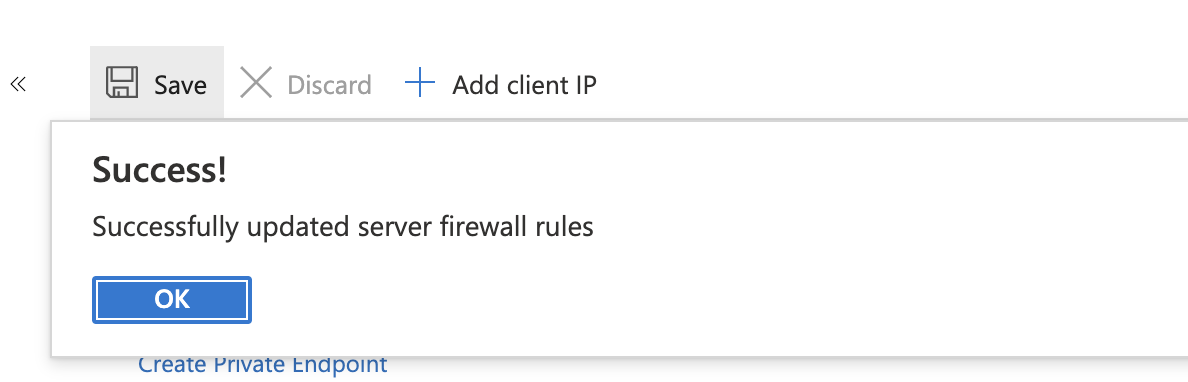
Ensure you Save the setting via the disc icon. You will see a Success! message when saved.
This is an important step to enable use of the Migration tool and Web App.
Using the Azure Data Migration Assistant
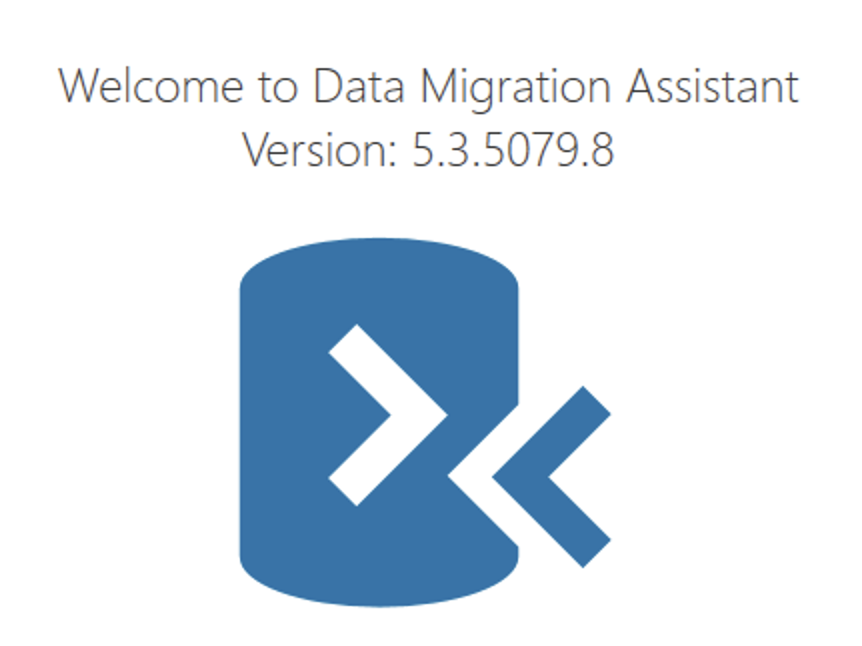
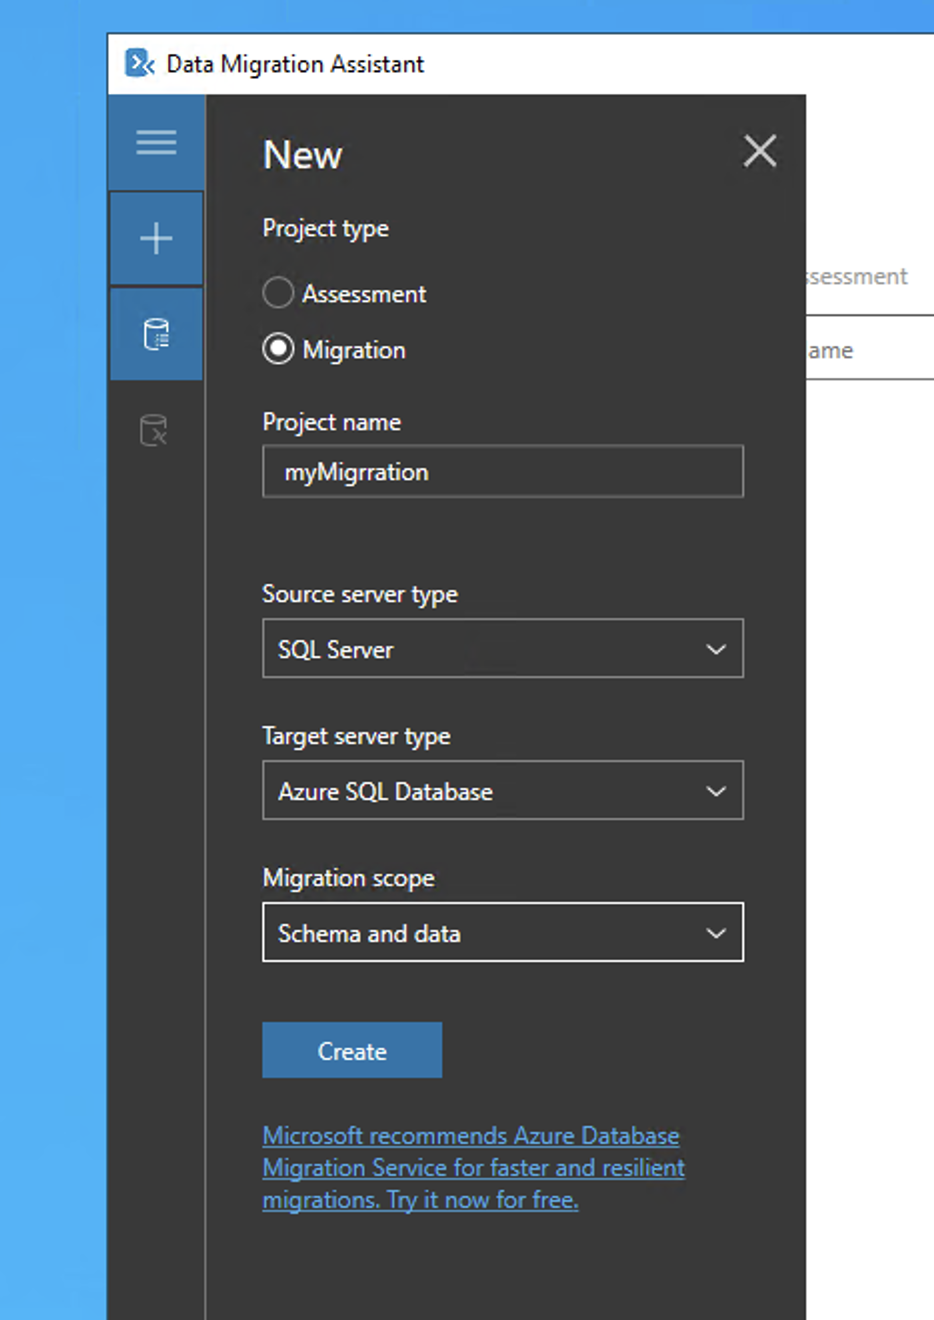
On the machine (or VM) where you have a local copy of the database install Azure Data Migration Assistant.
Once installed enter the basic details to start a migration:
There are then six steps to follow to migrate your data from the local SQLServer to Azure.
Step One: Select Source
Select the Source Server to be (localdb)\MSSQLLocalDB.
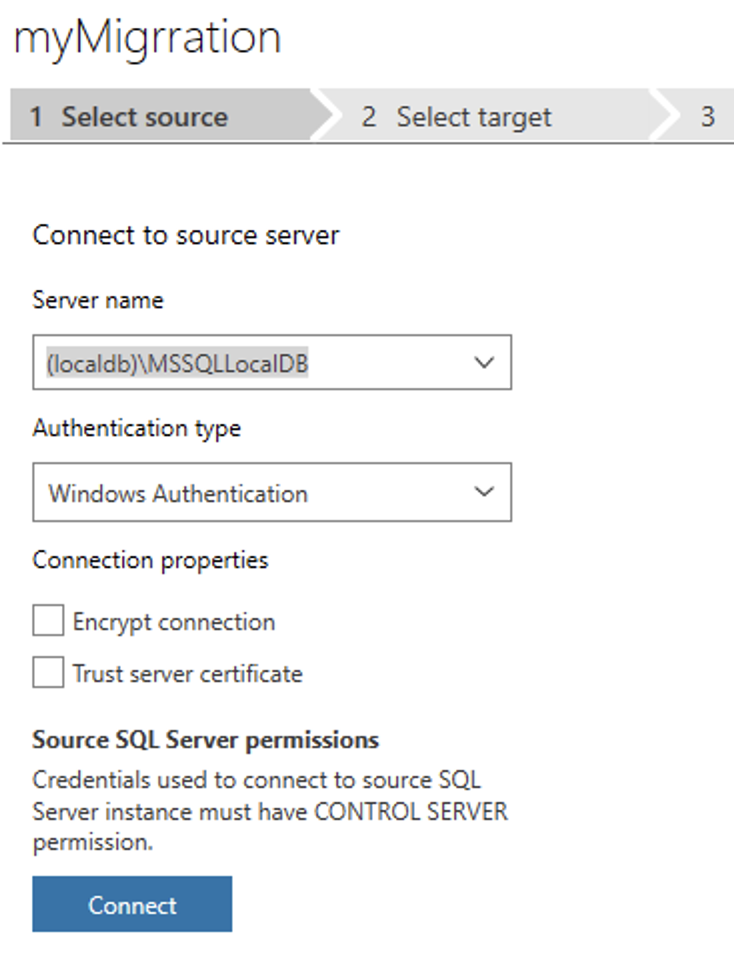
Click connect and choose the database(s) to be migrated.
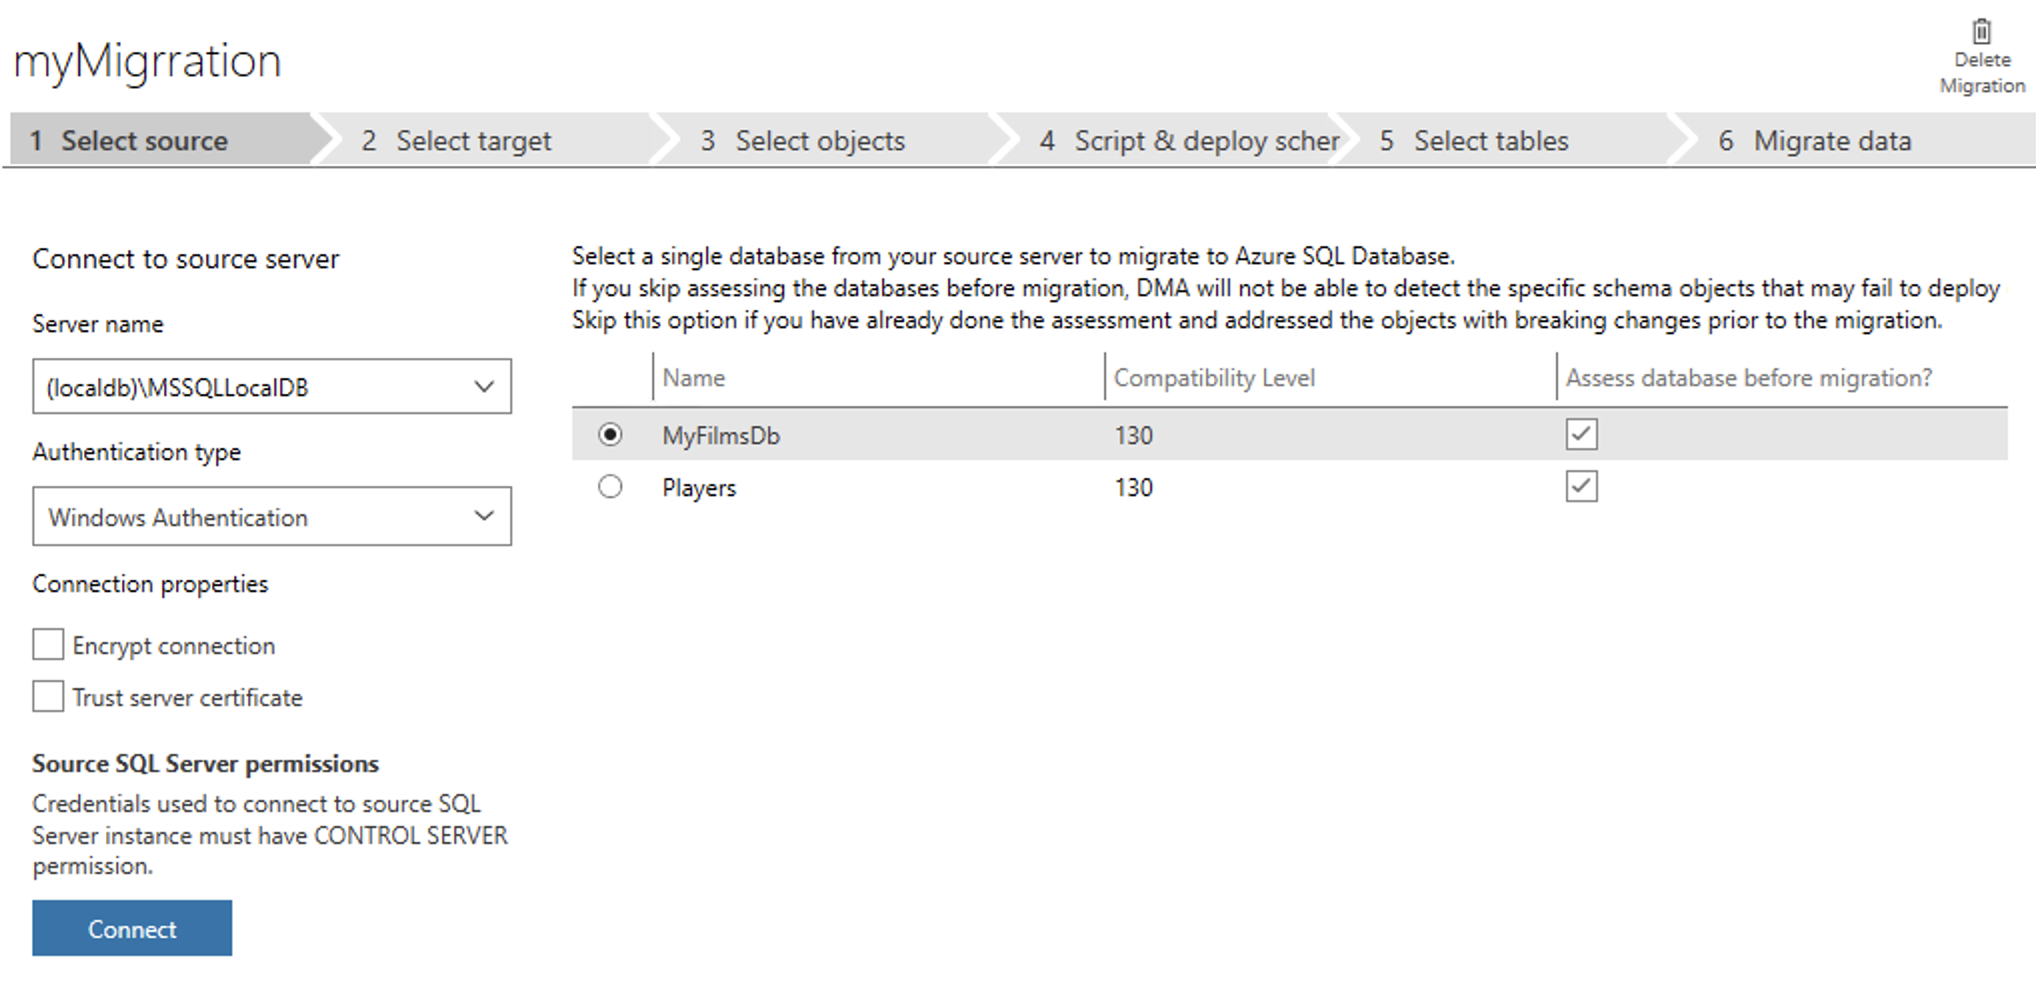
Click Next.
Step Two: Select Target
Select the Target Server. Copy the name of your Azure Database Server (such as my-test-db-server.database.windows.net) and add to the Server Name field.
Use SQL Server Authentiation and the admin and password you set up for the Database Server.
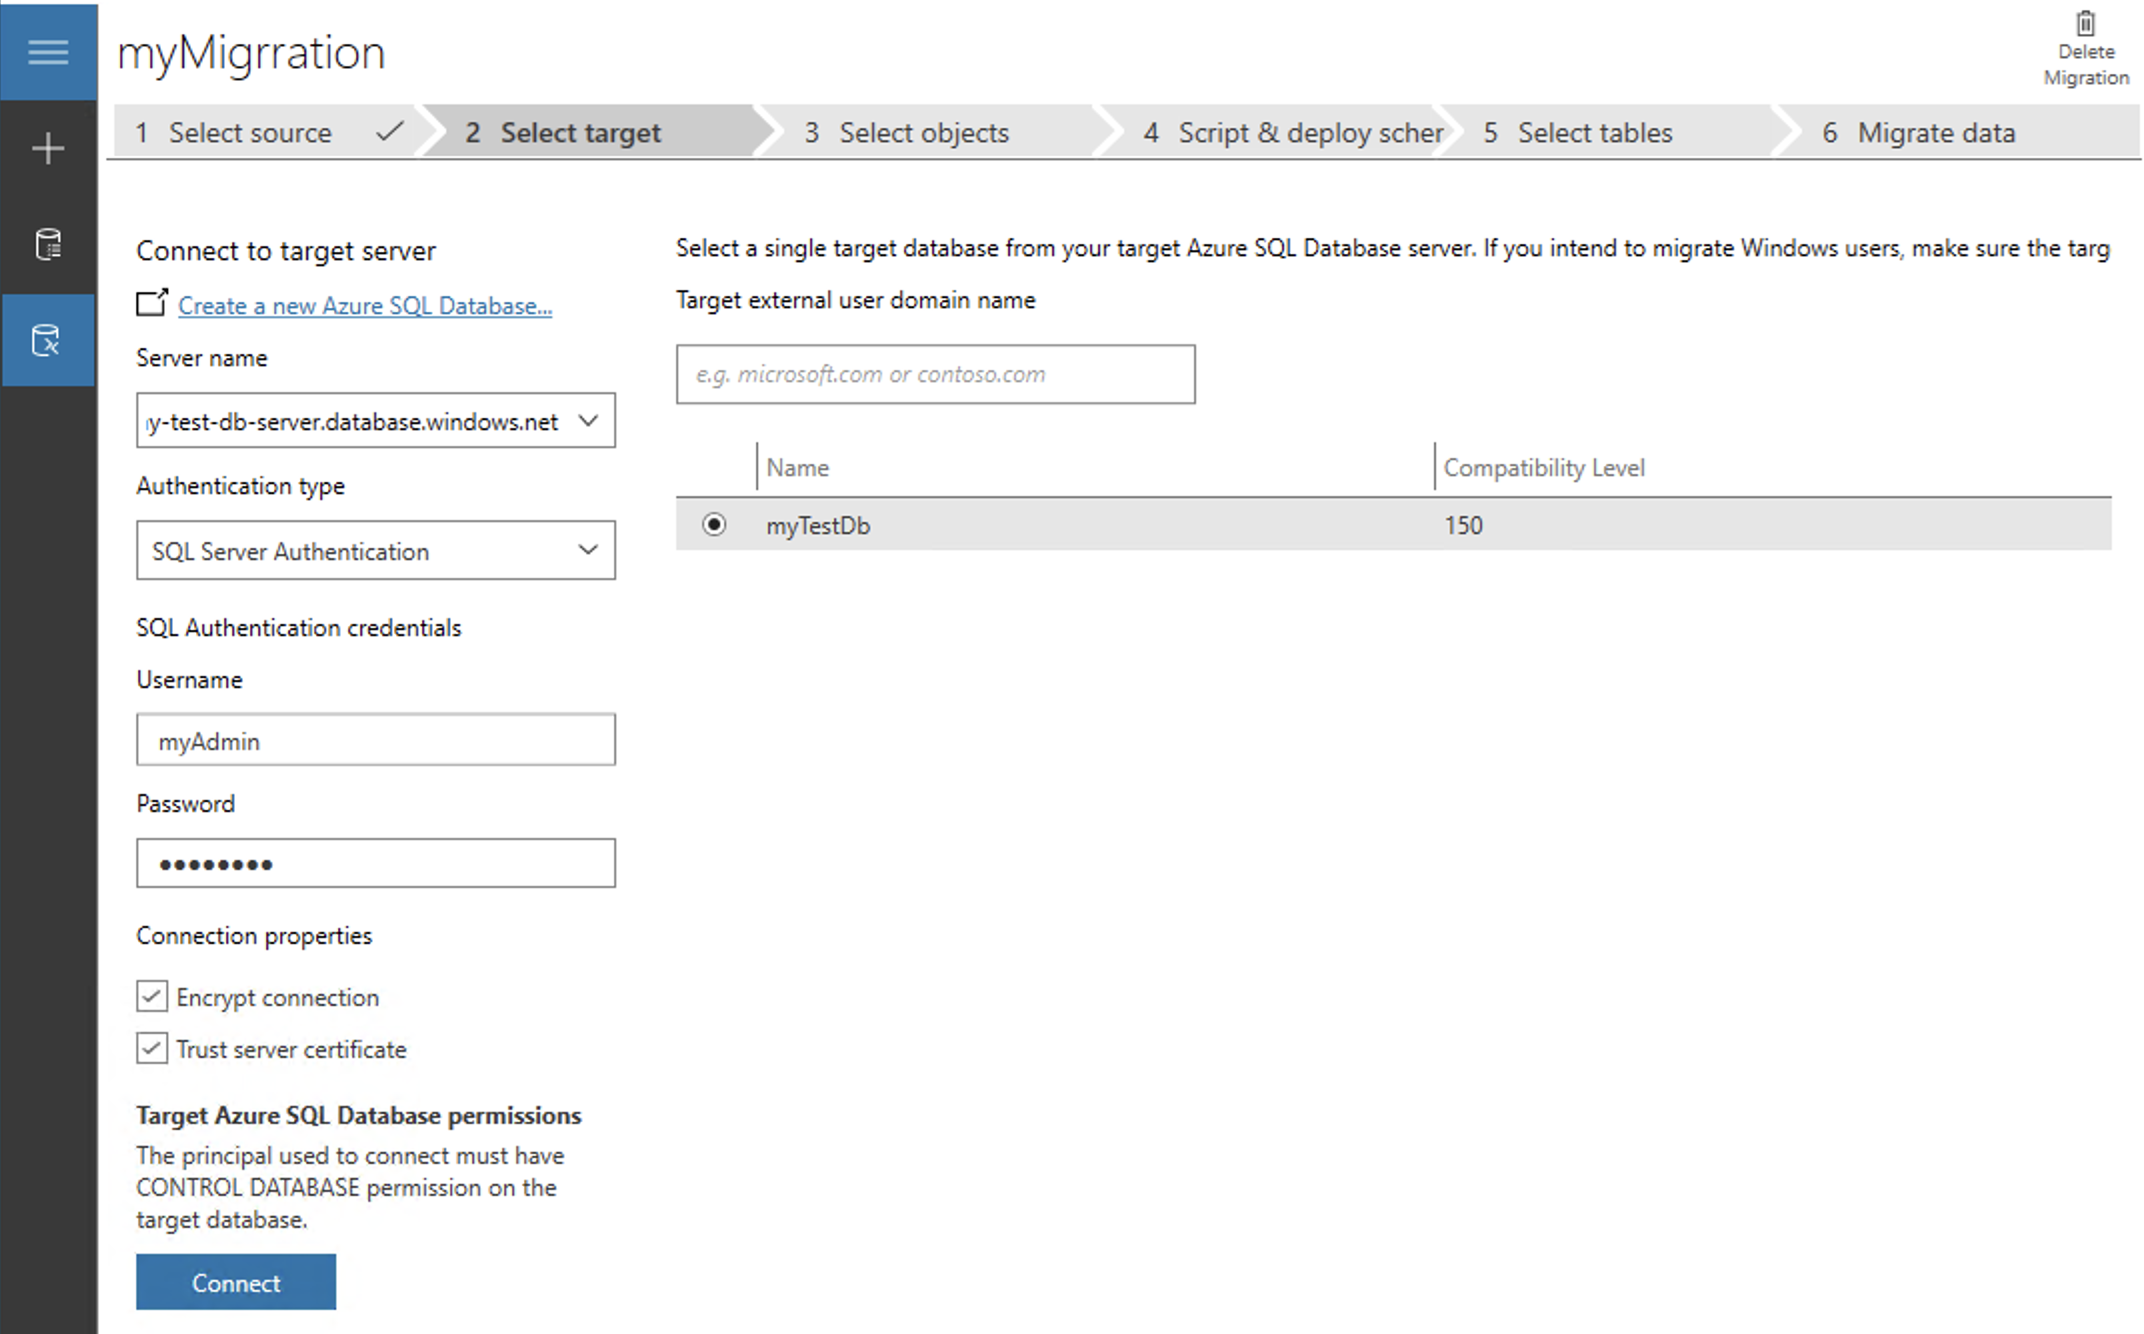
Click Next.
Step Three: Select Objects
Select the tables you wish to migrate. Click Generate SQL Script.
Step Four: Script and Deploy Schema
The SQL generated for the migration is presented. If you are happy with the proposed SQL then click Deploy Schema.
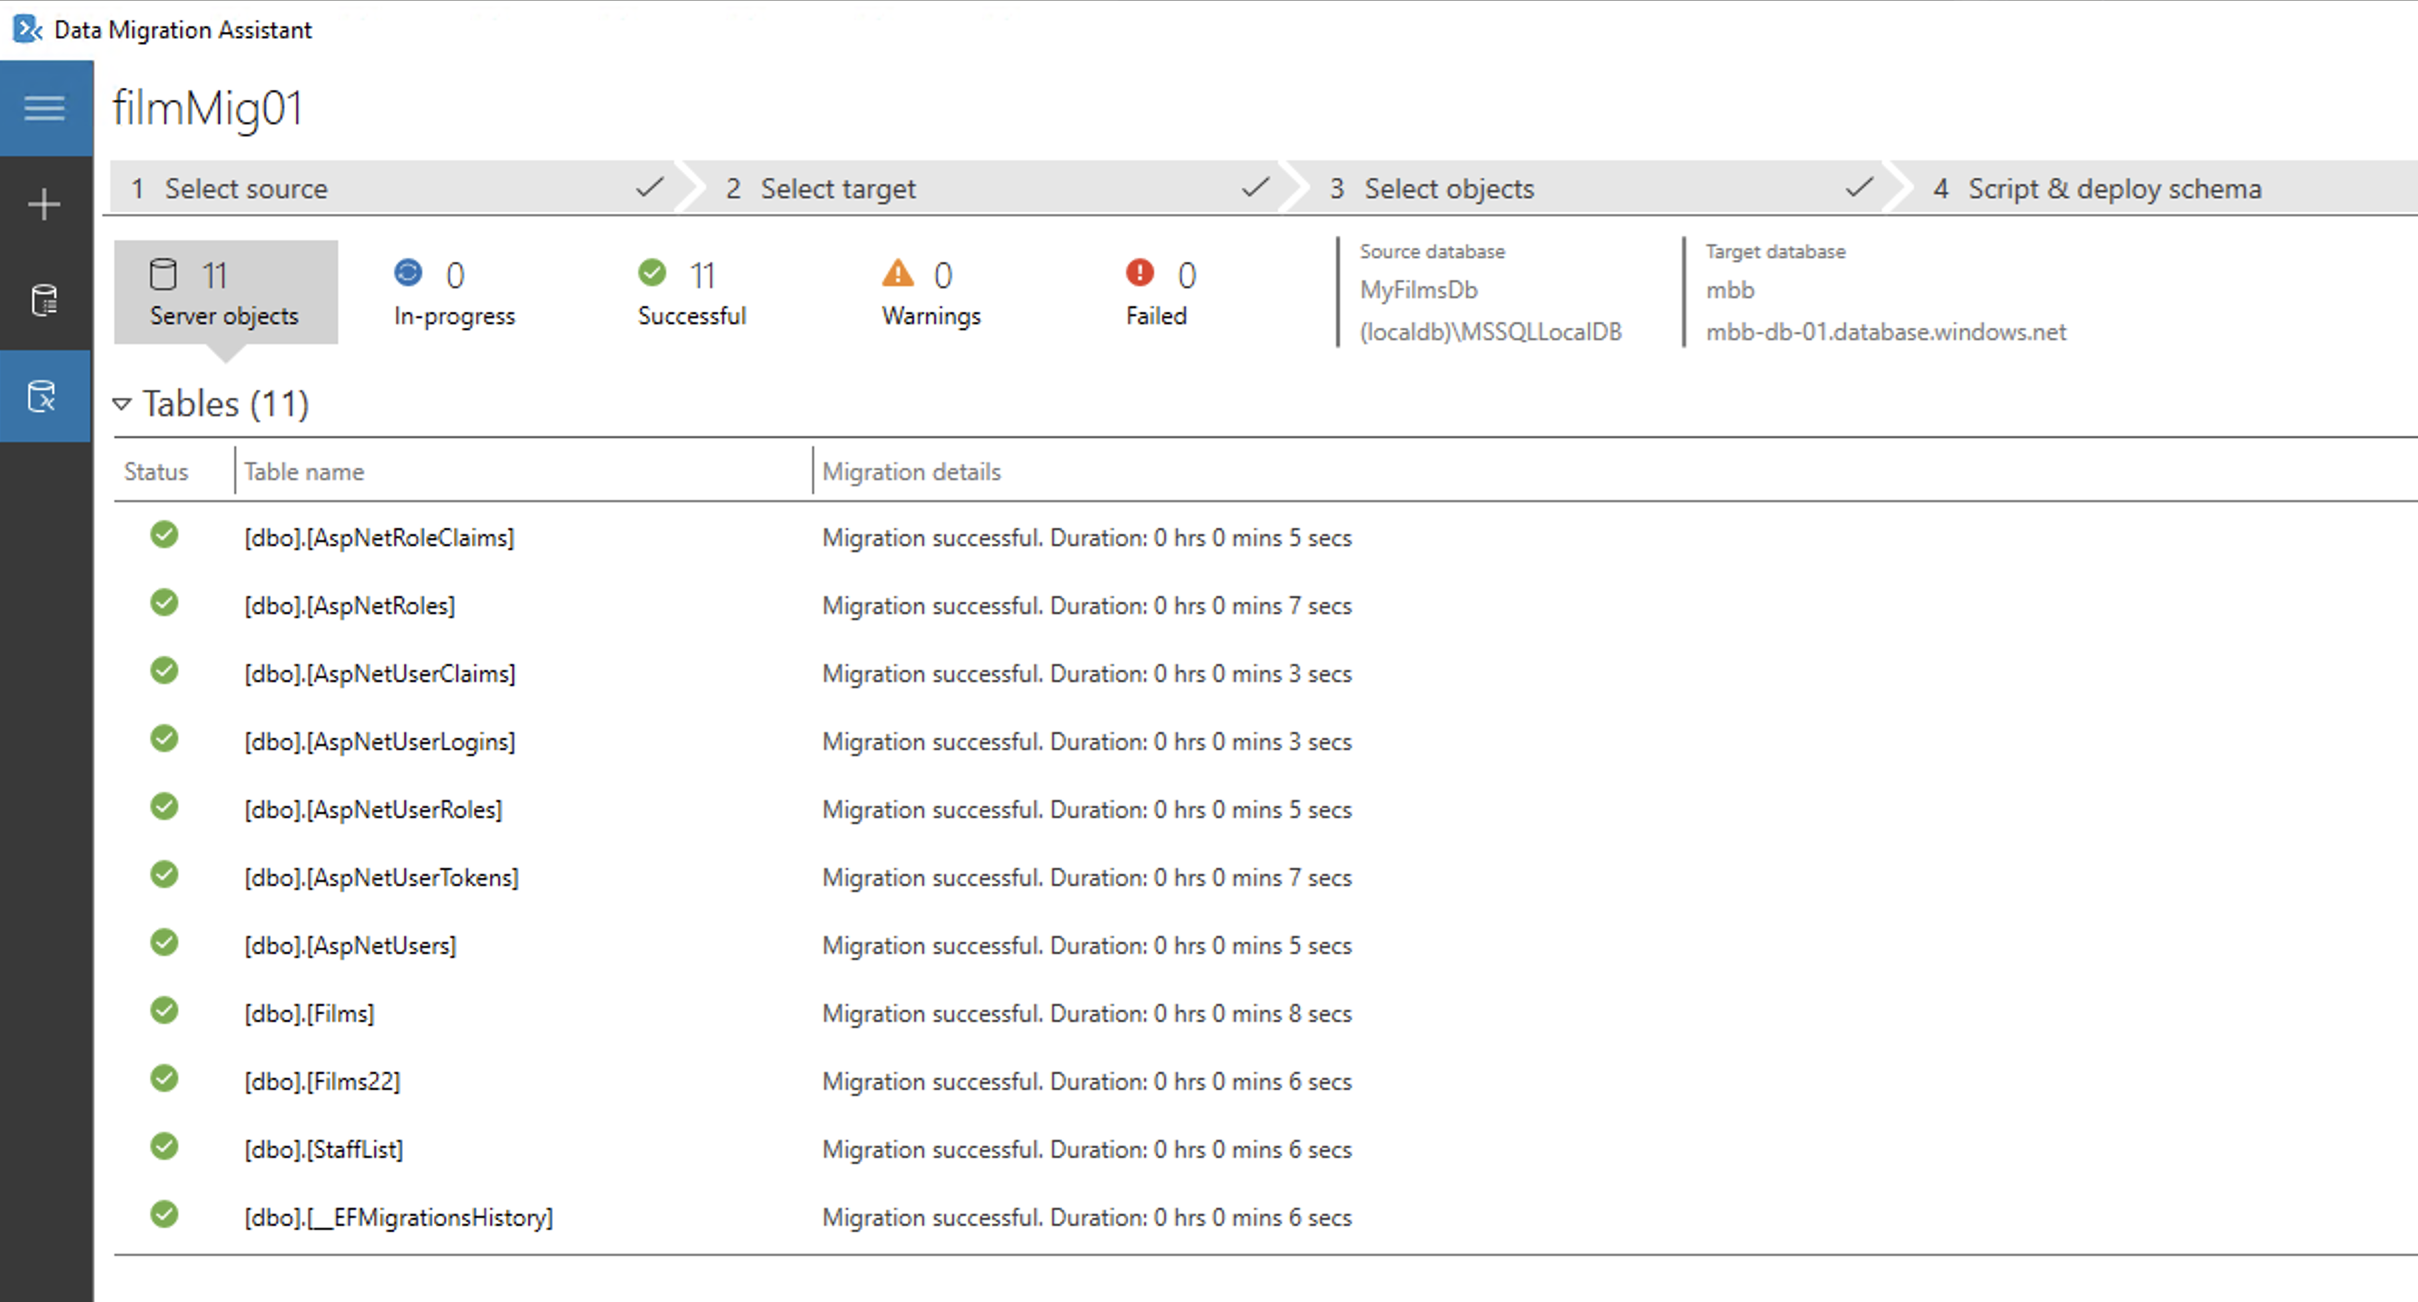
Step Five: Select Tables
The SQL generated for the migration is presented. If you are happy with the proposed SQL then click Deploy Schema.
If successful you can then click Migrate Data. Select the tables whose data you wish to migrate and click Start data migration.
Step Six: Migrate Data
The final step will show a summary of the migration.
Back in the azure portal you can now view the migrate tables via Query Editor (Preview)
Using Azure Data Studio
You may want to use the Azure Data Studio to review data.
This gives you a light weight desktop tool to manage your Azure Databases.
The Connection String: Azure Set Up
The Connection String in your Application is still likely to be pointing to the local database. We can get the new Azure Connection String through the Settings of the Database.

For testing purposes it would be useful to use the local database Connection String, but when deployed the remote database Connection String. This can be done via Enviromental Variables.
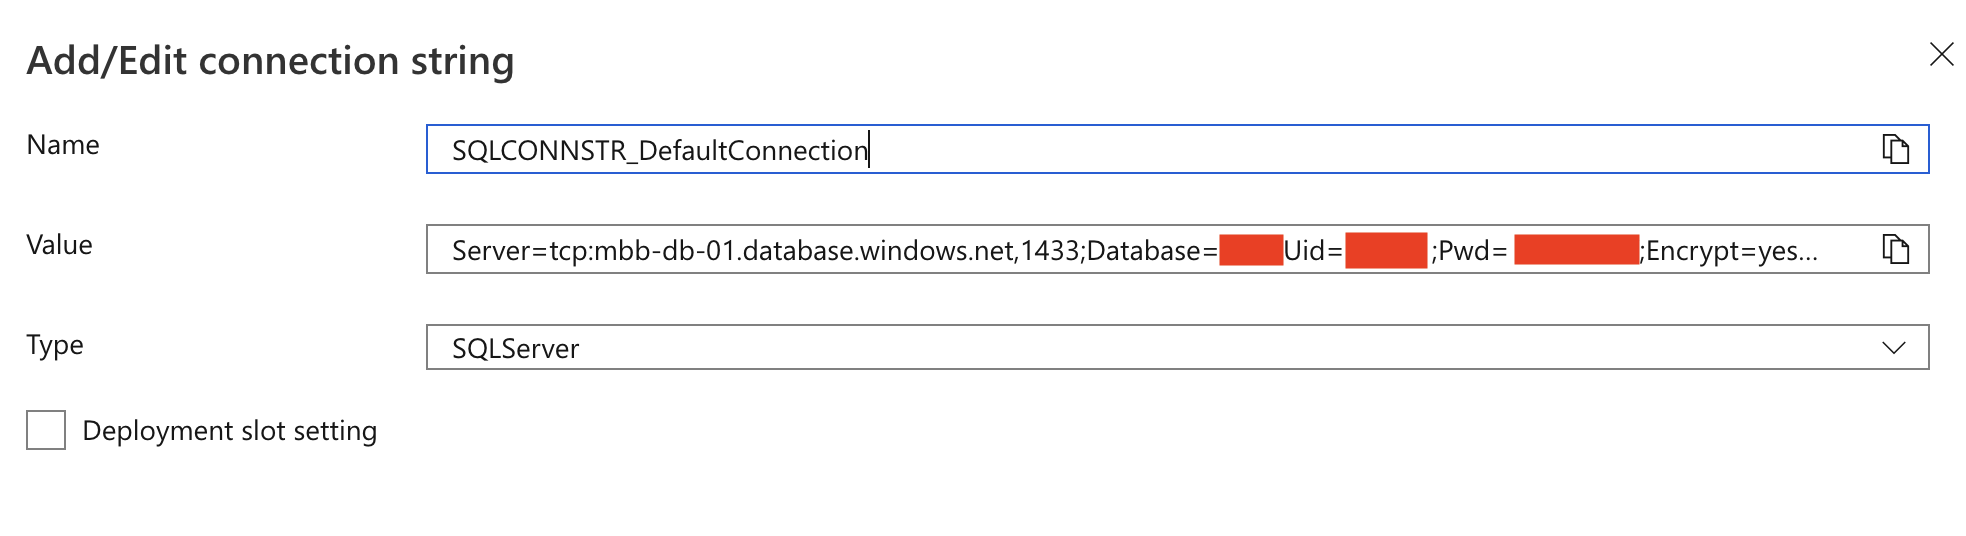
Go to your App Service resource and under Settings choose Configuration. Add the Connection String (with your password).
The Connection String: Visual Studio Set Up
In Visual Studio appsettings.json change the name of the connection string to SQLCONNSTR_DefaultConnection.
This will allow the local database to used locally when testing but on the deployed application the environmental variable will replace the SQLCONNSTR_DefaultConnection with the connection string for the Azure database.
Ensure you do also rename the Connection String in ConfigureServices() method of the Startup.cs file.
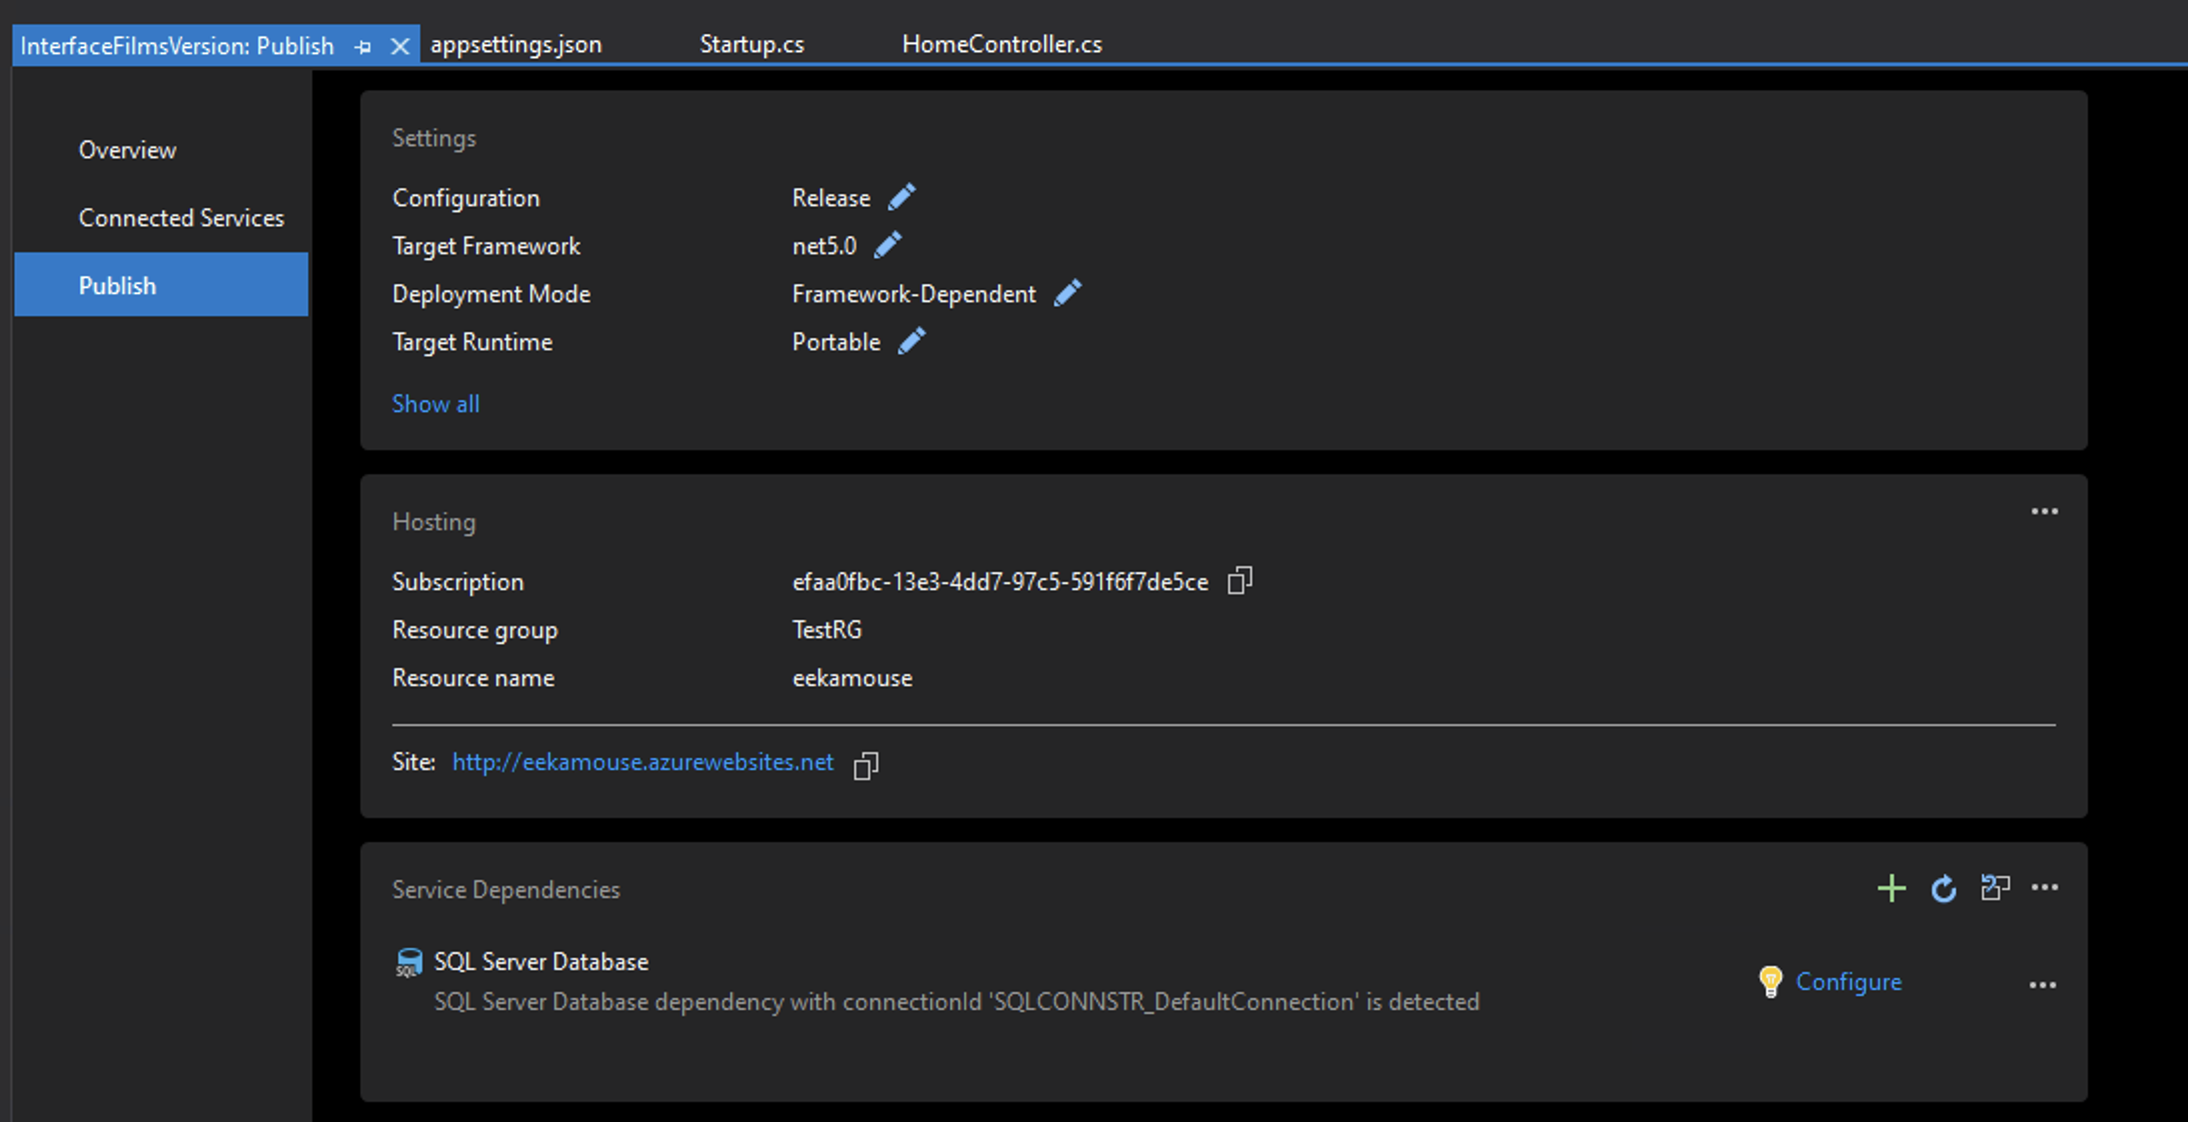
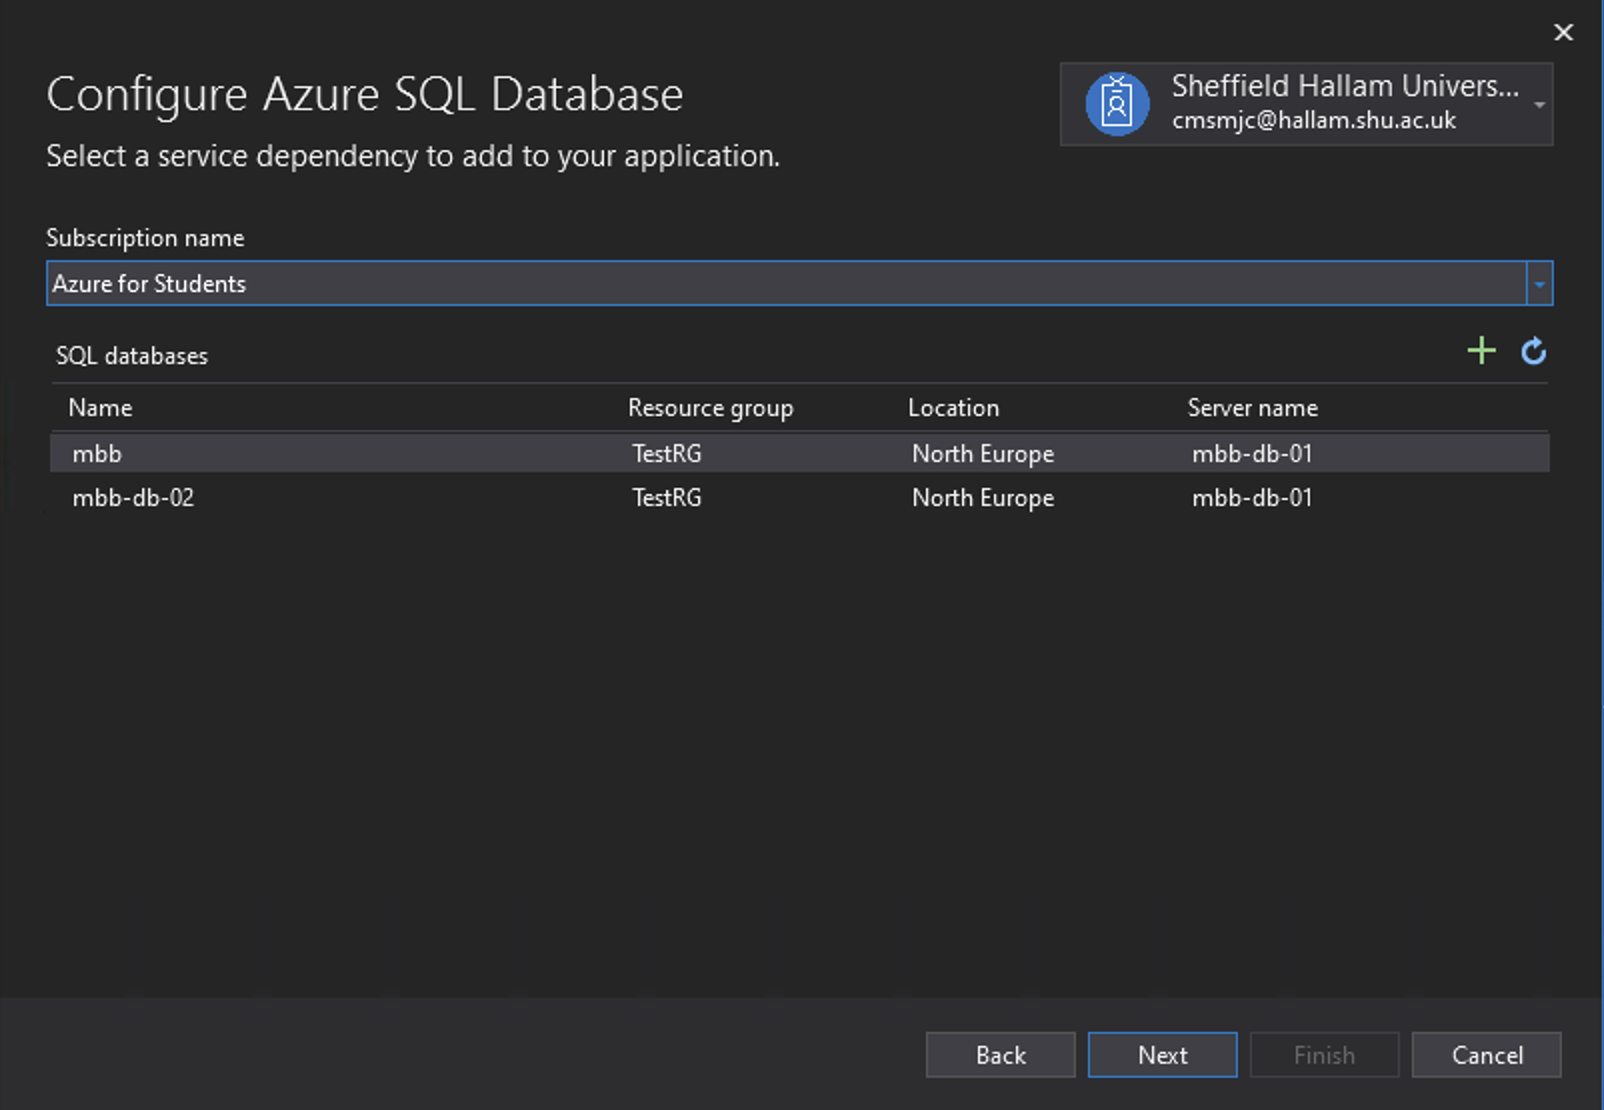
Choose Build > Publish and you will notice under Service Dependencies SQL Server Database need configuring. Select Configure.
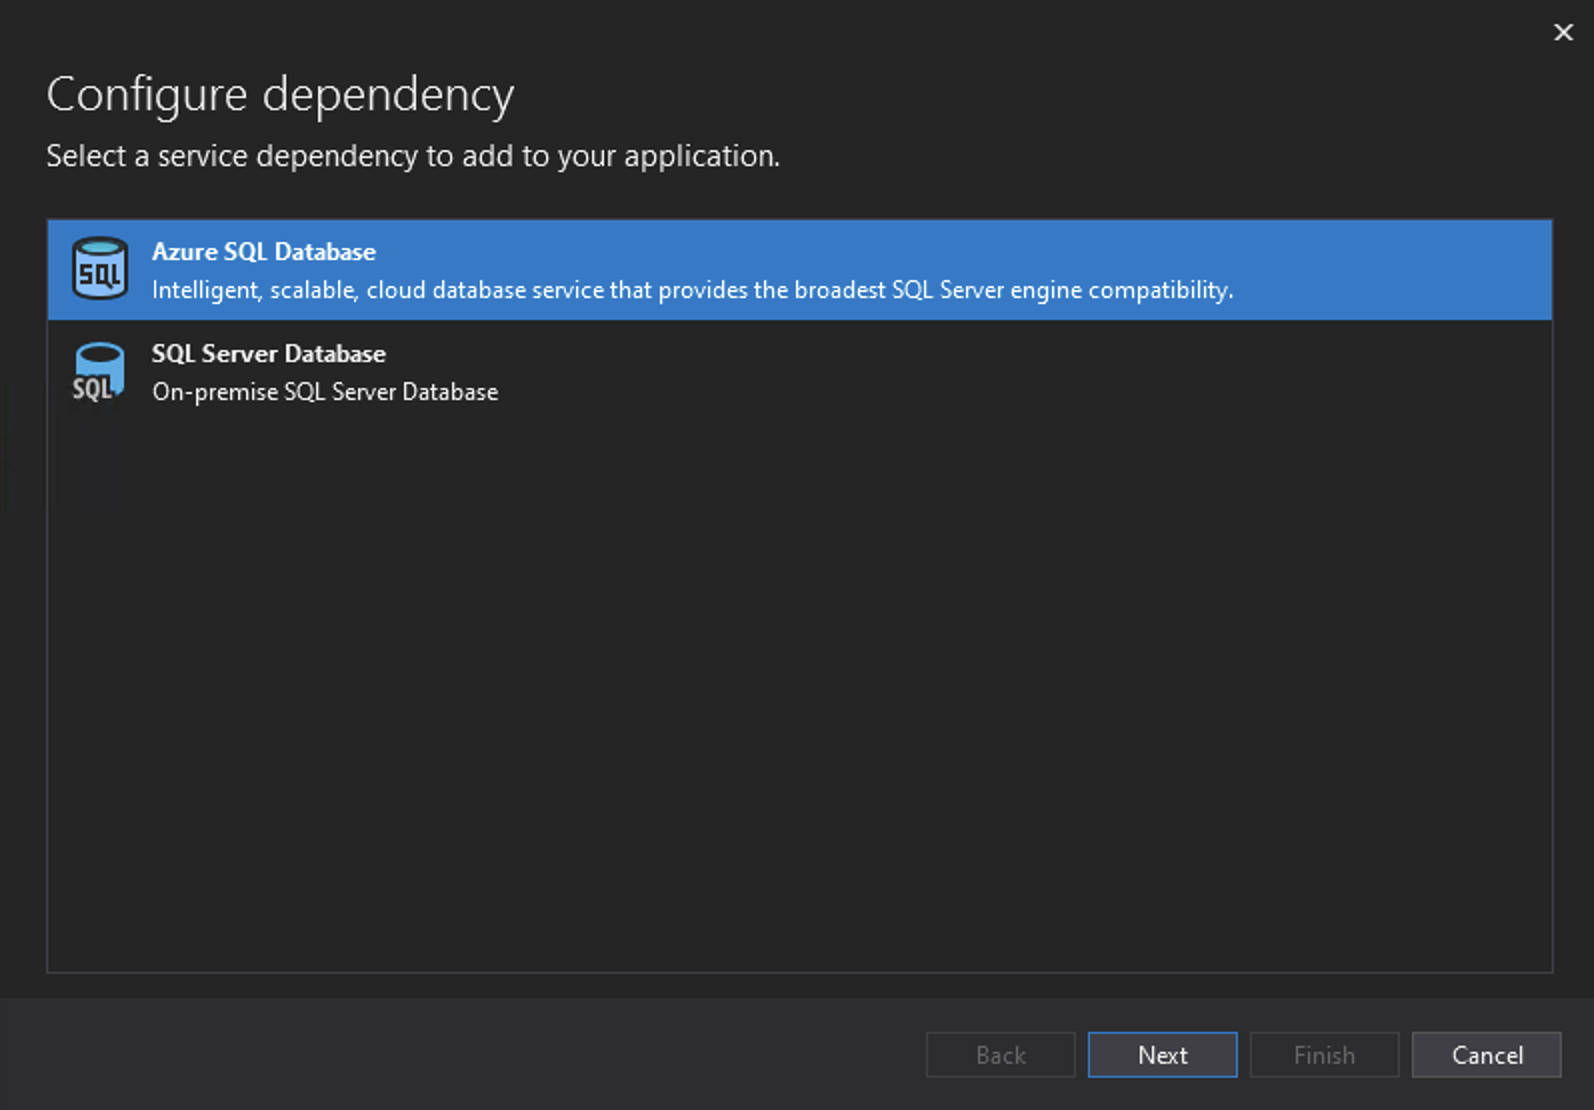
Choose Azure SQL Database.
Set the Subscription to be Azure for Students and the select the Azure Database to use.
Enter the admin and password for the database. Tick Azure App Settings.
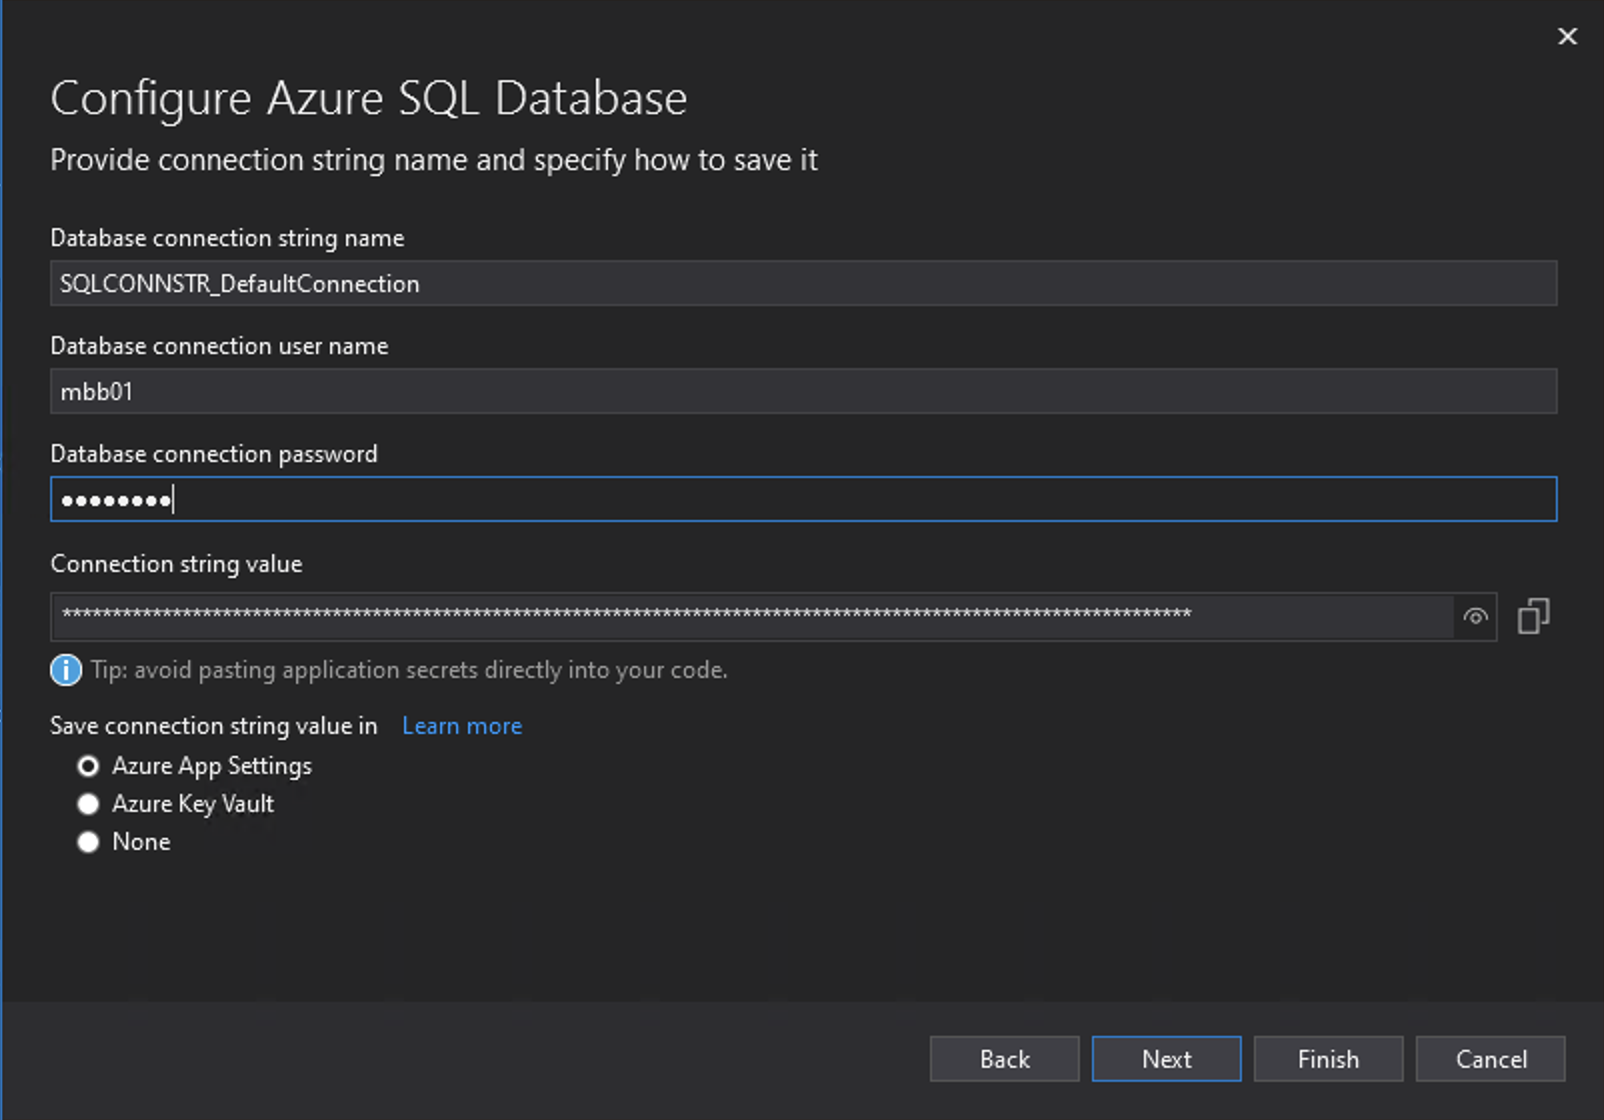
Settings are summarized.

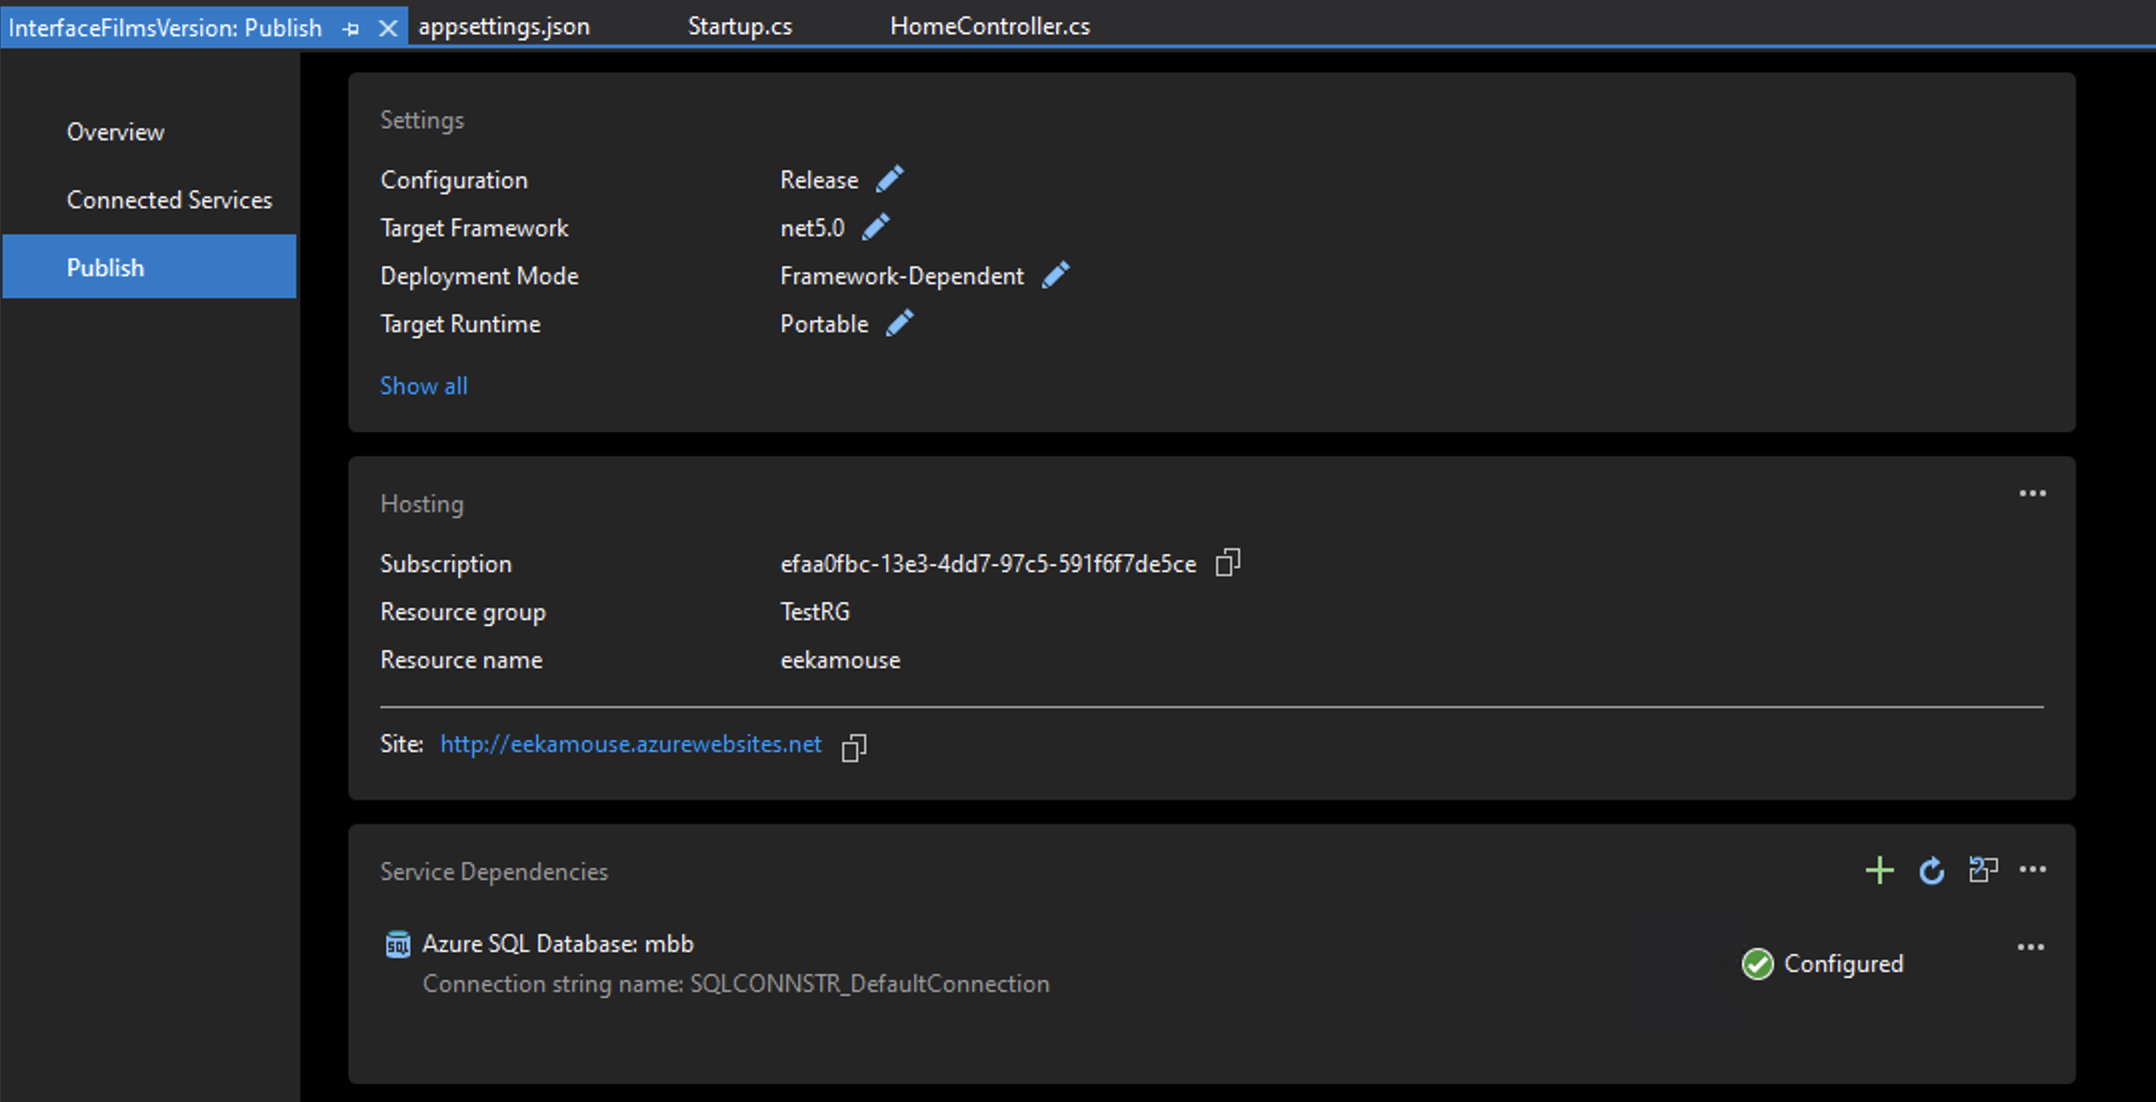
The dependency will now appear configured.
Test you app via the sub-domain and your application should now work with the remote database content.