

Publishing to Azure
Set Up an Azure for Students Account
Set up an Azure for Students Account at:
Ensure to use the Azure for Students Subscription.
Set Up a Web App
Login to portal.azure.com.
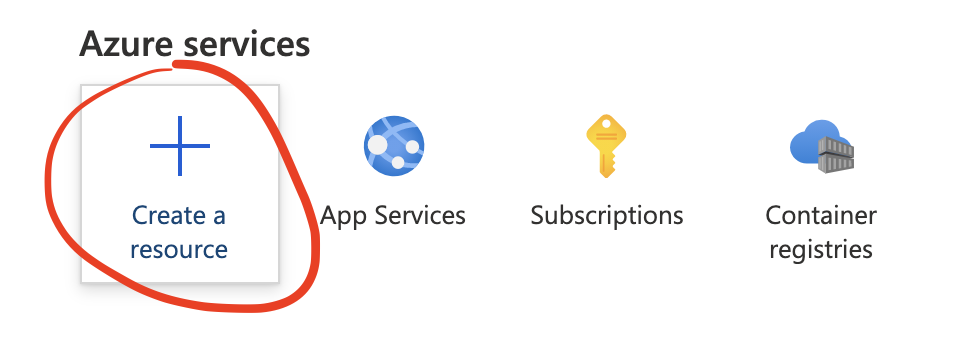
Create a New Resource:
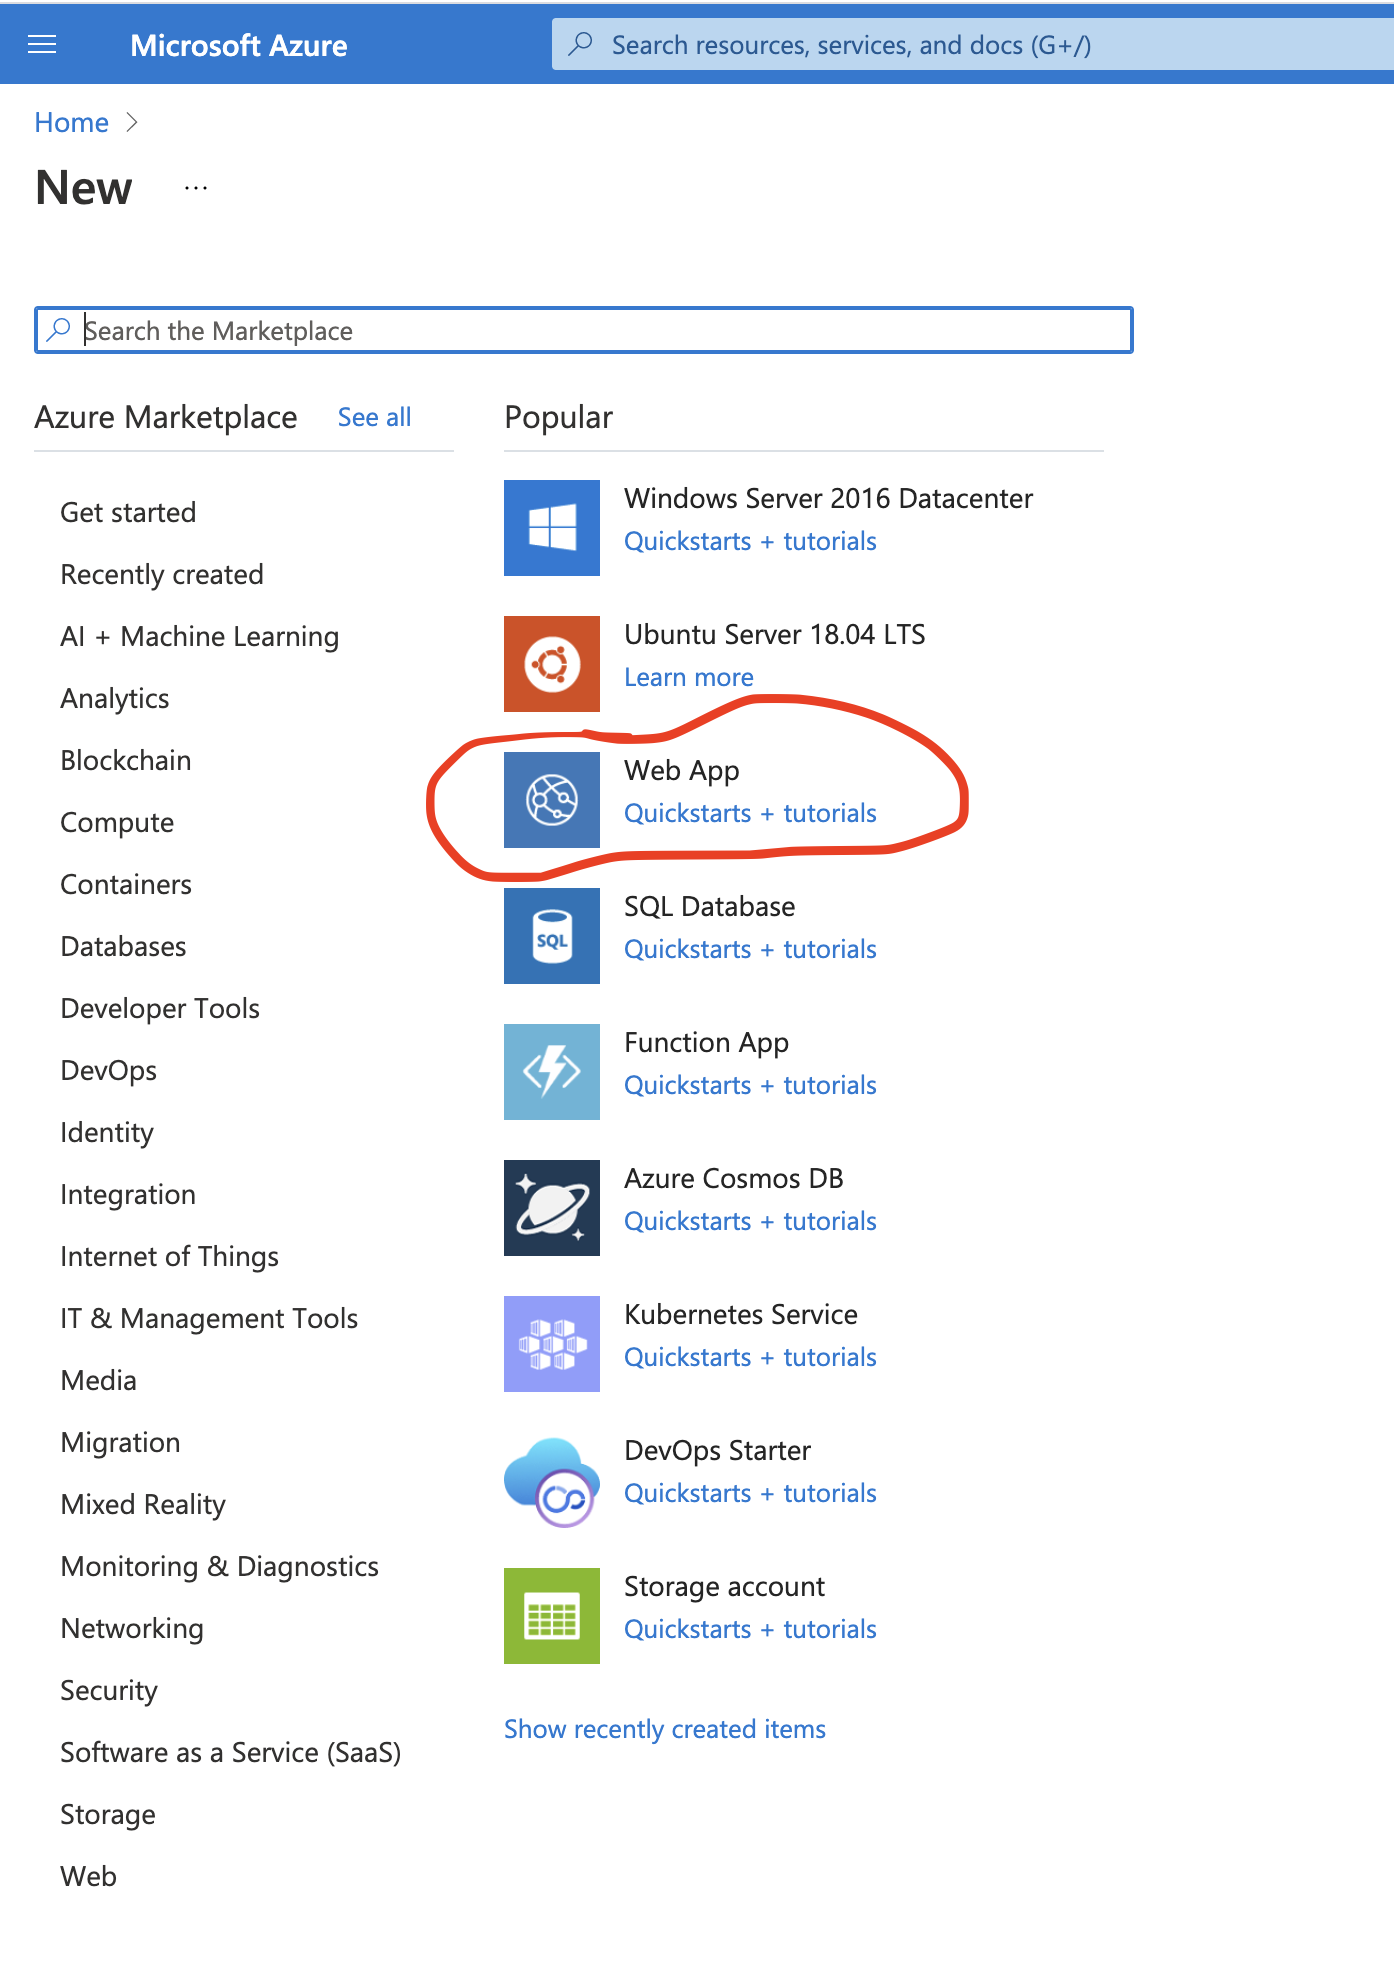
Choose Web App:
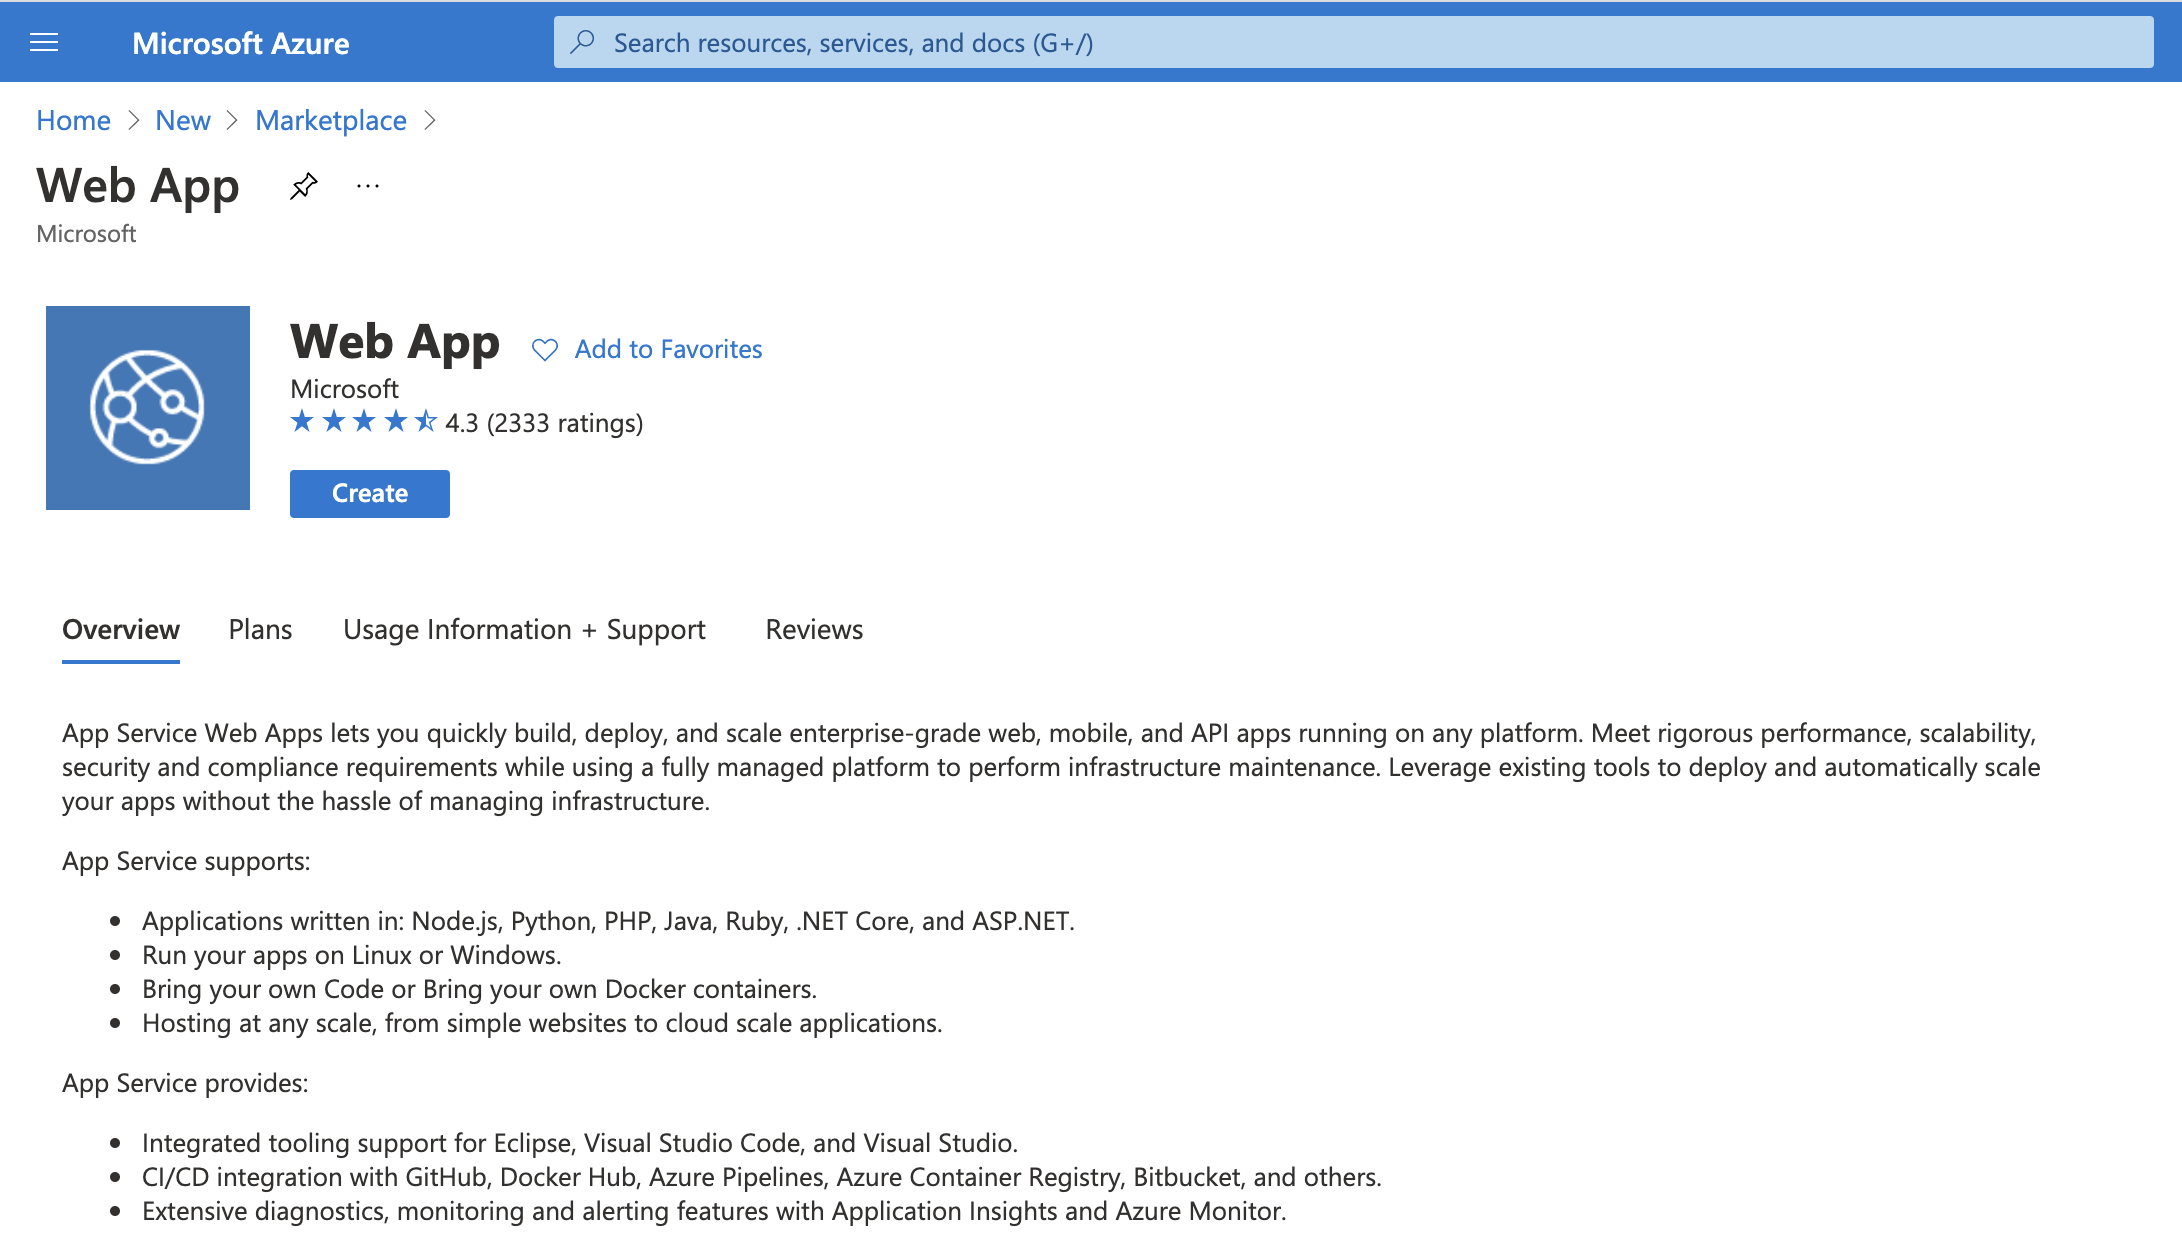
A Web App is described as:
Configure Web App
Configure your Web App. You'll need to set the following:
Project Details
- Subscription:
- Use your Azure for Students subscription.
- Resource Group:
- If you don't have one create a Resource Group.
Instance Details
- Name:
- Unique name for your web application. Will be a subdomain of azurewebsites.net.
- Publish:
- Select Code. If you have a Docker container can be done through that route too.
- Runtime Stack:
- Choose the .net Stack to match that of your App.
- Operating System:
- With .net choose Linux. This may seem counter-intuitive but as .net Core (3, 5 etc) is cross platform, selecting Linux is a considerably cheaper option for web hosting.
- Region:
- Pick a UK South. Currently no UK North or even UK Yorkshire - unbelieveable! UK South supported F1 (see below)
App Service Plan
- Linux Plan:
- As we picked Linux a Linux Plan option will be selected. Name and create one if this is the first time you have set up a Resource.
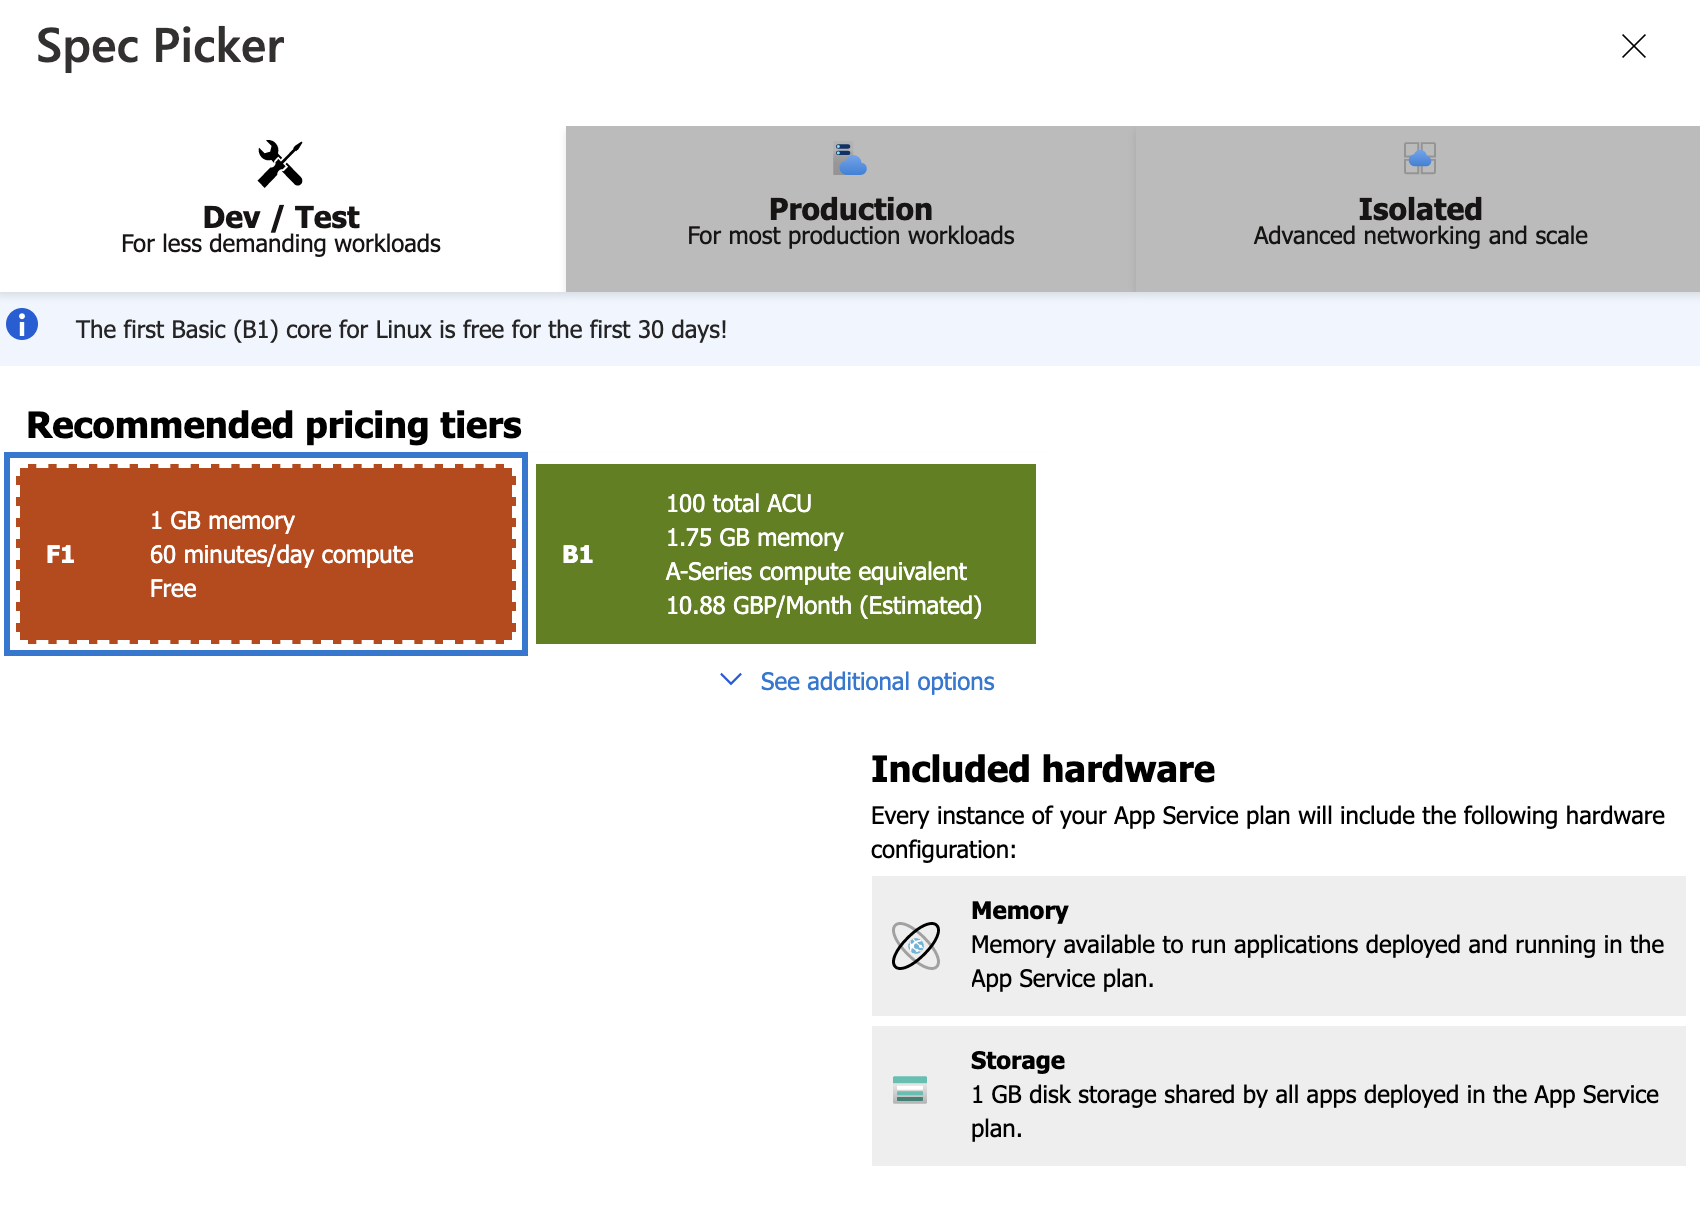
- Sku and Size:
-
To keep cost down use the smallest Compute services possible - Sku (Stock keeping unit). This will be a F1 that give you 60 minutes free per day.
In summary this form may now appear as follows.:
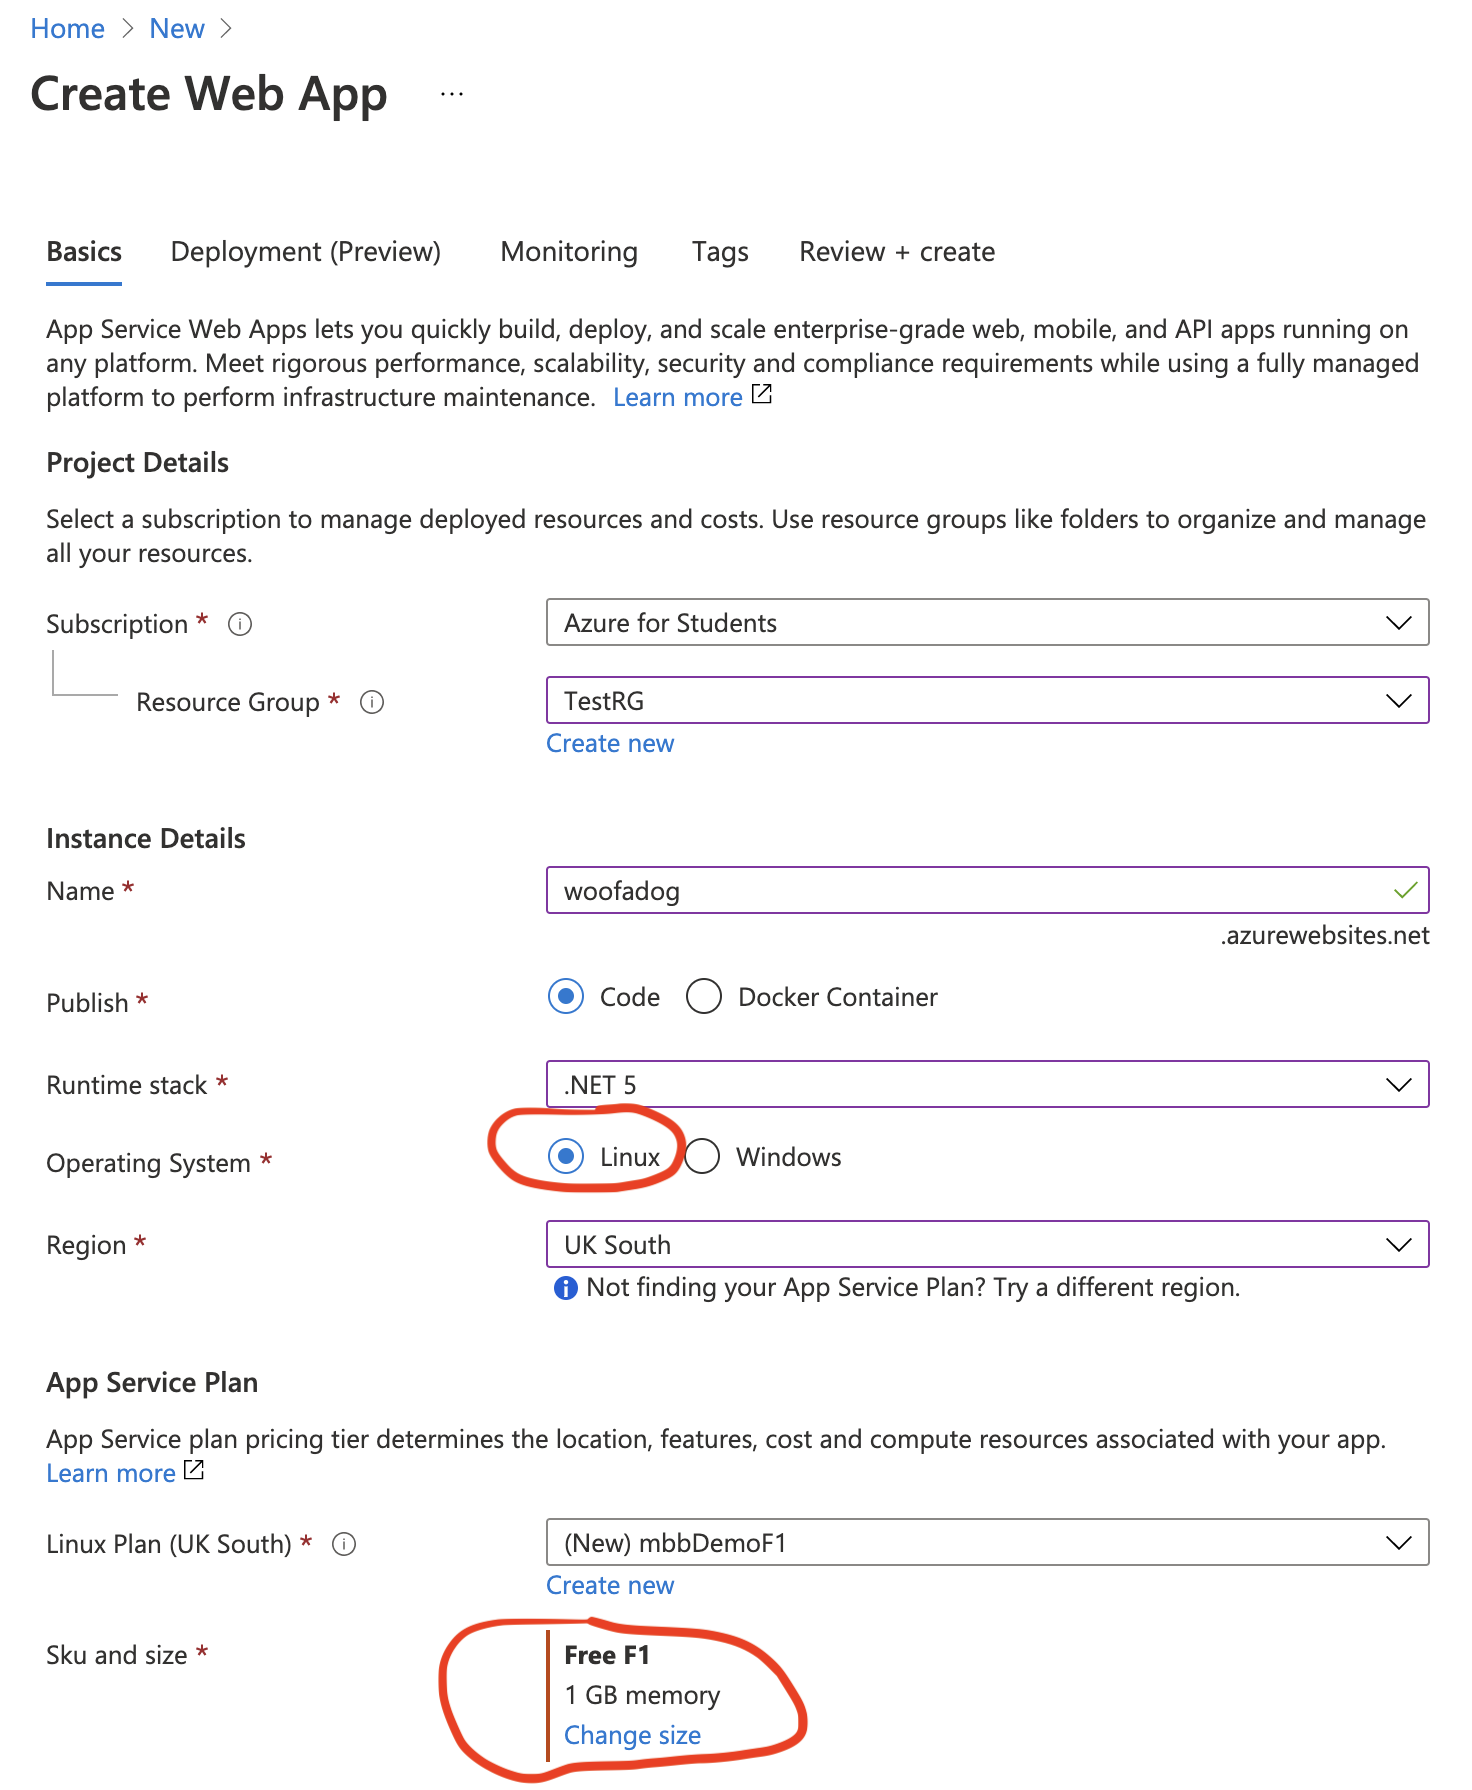
Warning:
The Operating System and Sku and Size are highlighted above as these are not default choices. They are however the options used in the above example because they will keep costs to a minimum.
Once you are happy with the settings Review them via the Review and Create button and then Create the app .... Deployment is in progress will then appear.
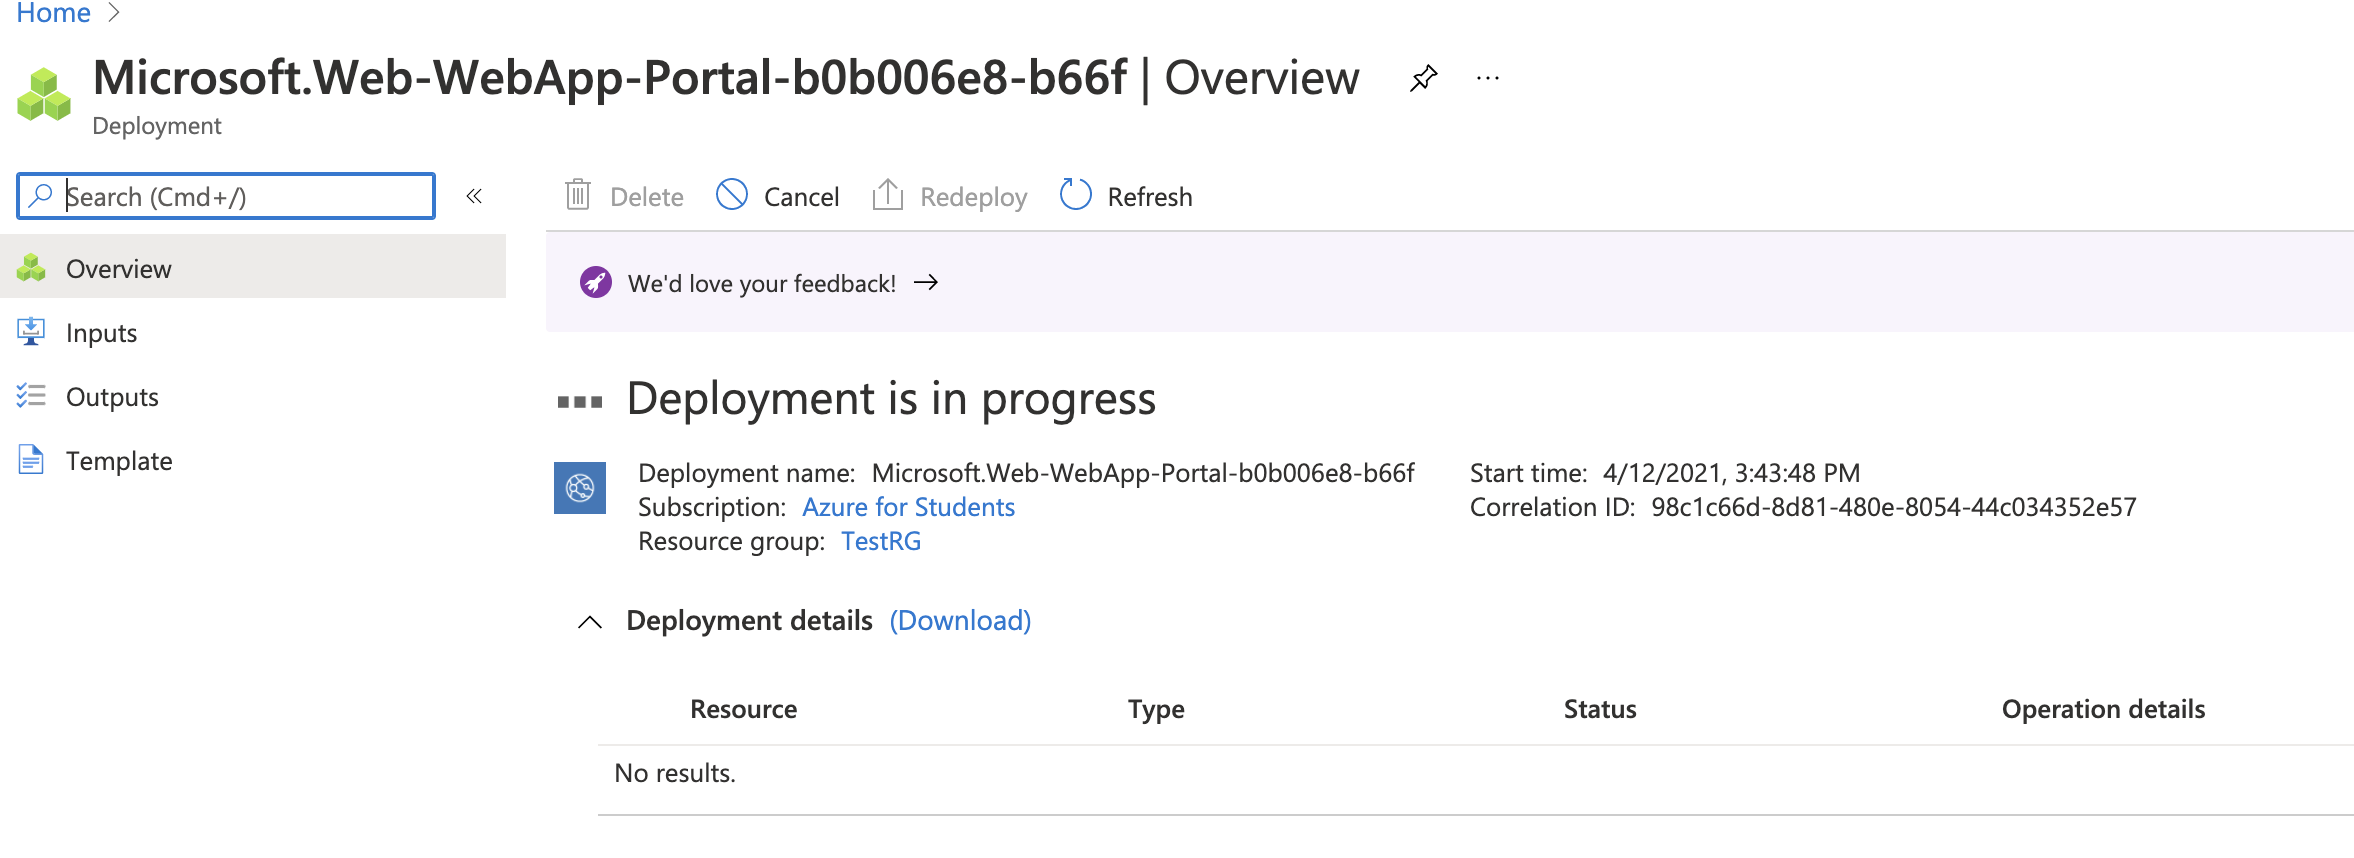
Once deployed go to the resource. A holding page will be in place on the subdomain.
Deploy Your Application From Visual Studio
Now the Azure Web App is set up we can use Visual Studio to publish a Web App to the resource.
Open an existing web application in Visual Studio. (Choose a project with a database, we'll migrate the database to Azure later).
Choose Build > Publish.
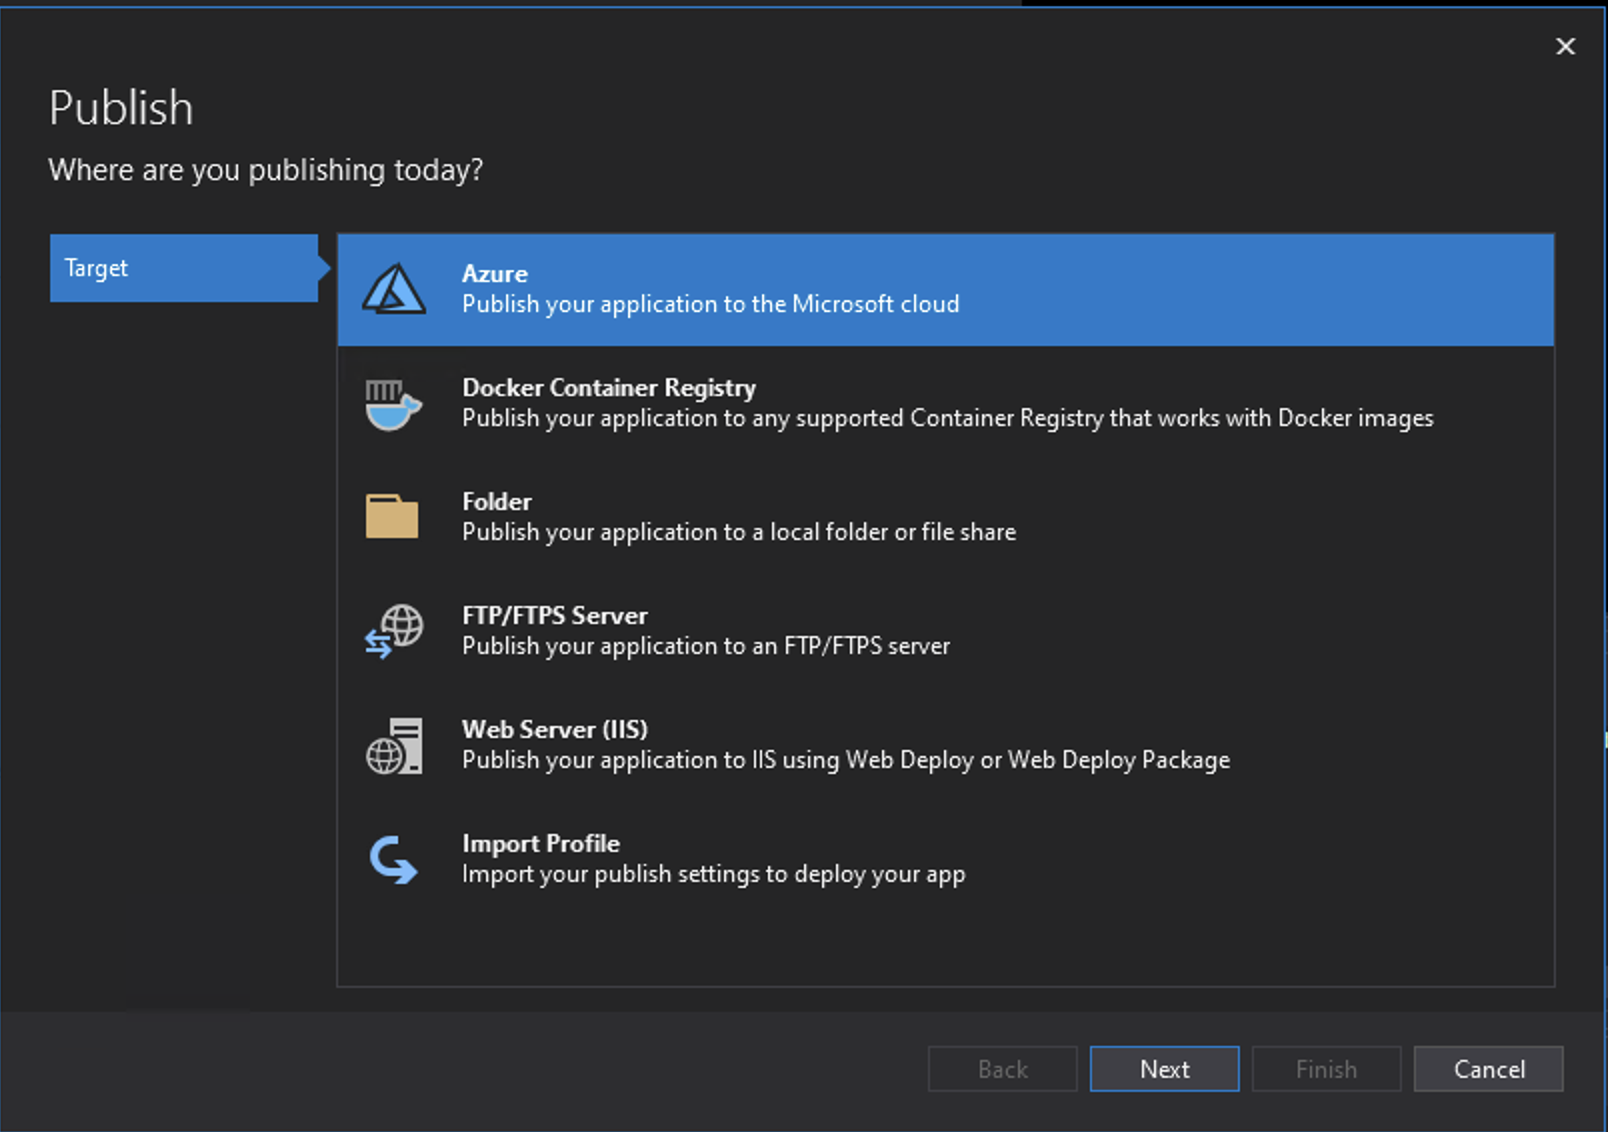
Choose Azure as the Target.
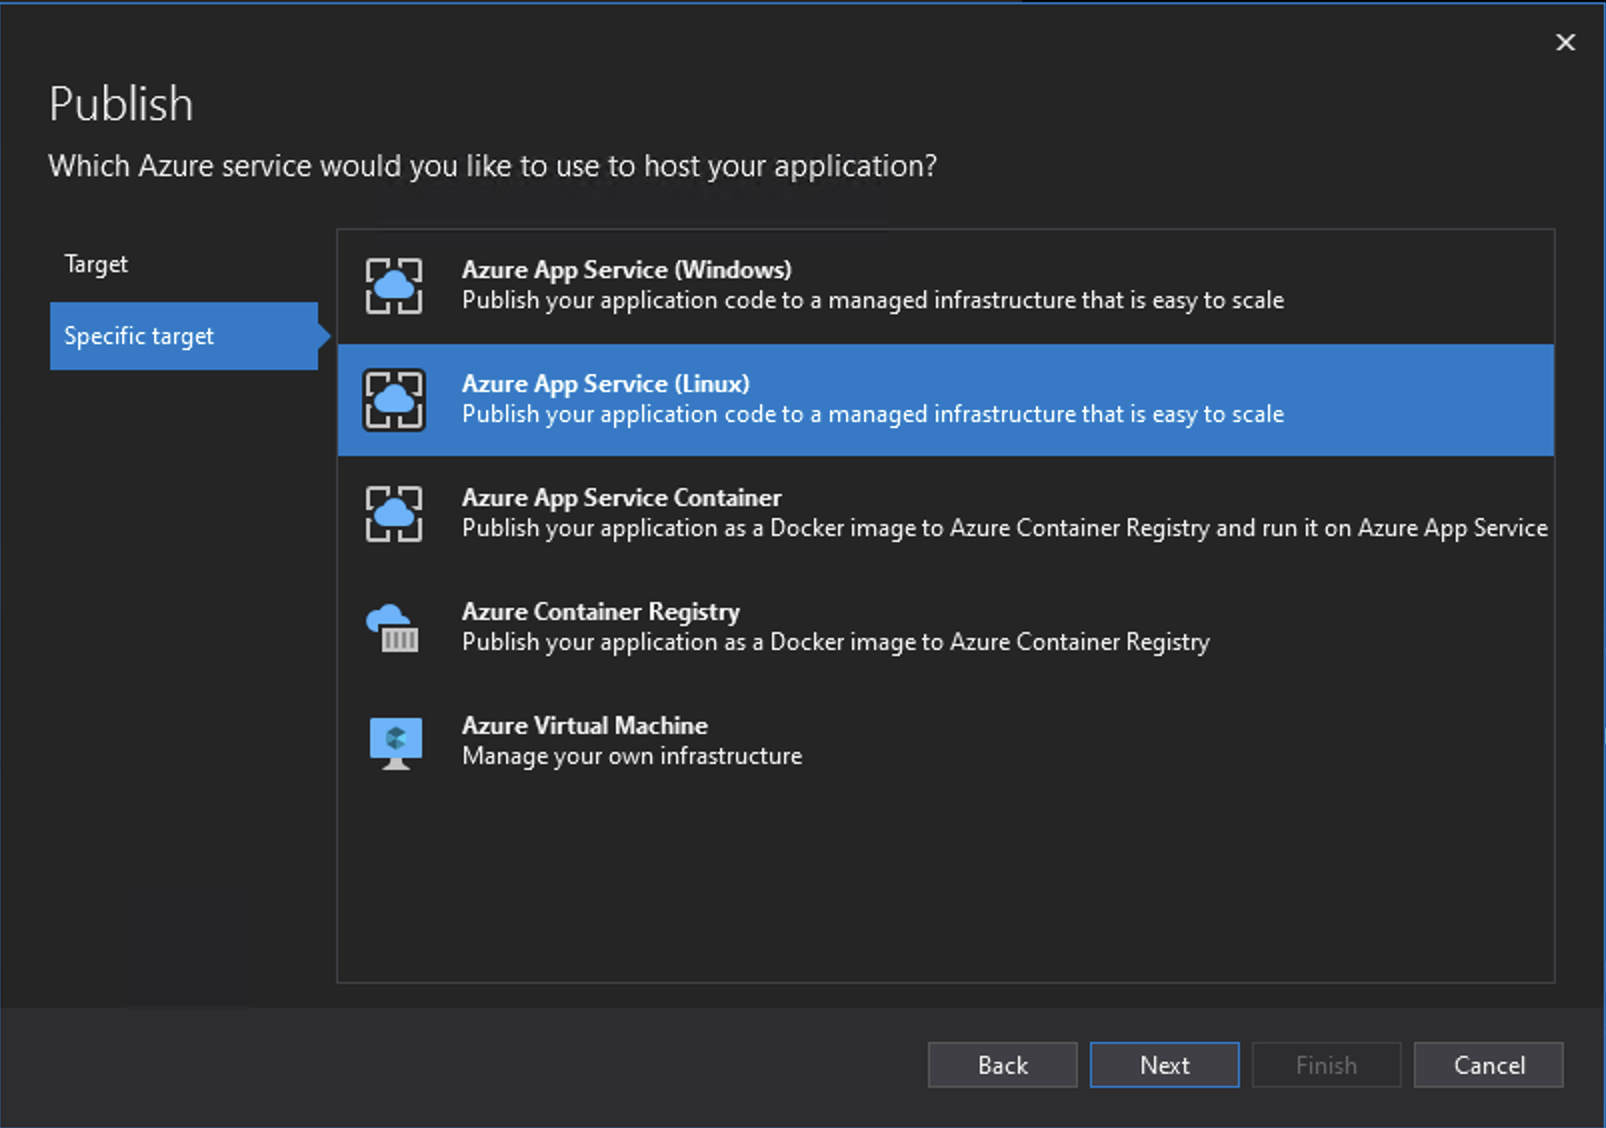
Choose Azure App Service Linux as the Specific Target.
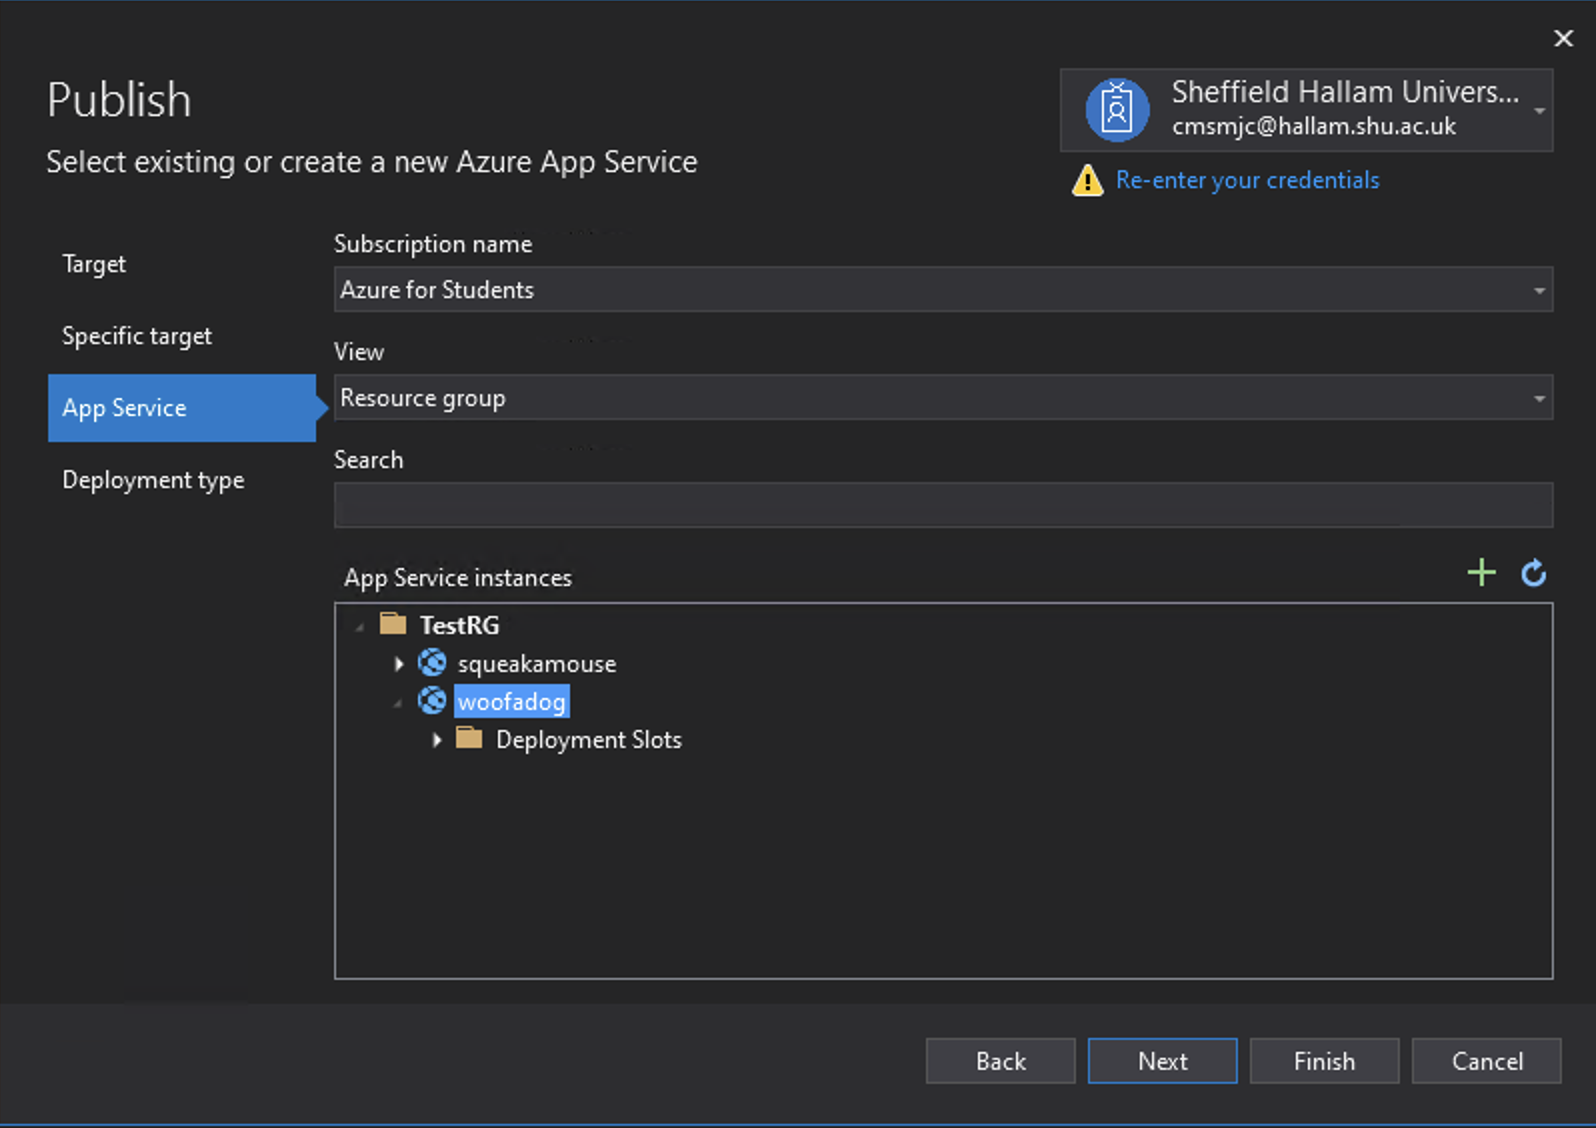
Set the Subscription to be Azure for Students and the Resource Group to the one you created above. Locate the App in those allocated to the Resource Group.
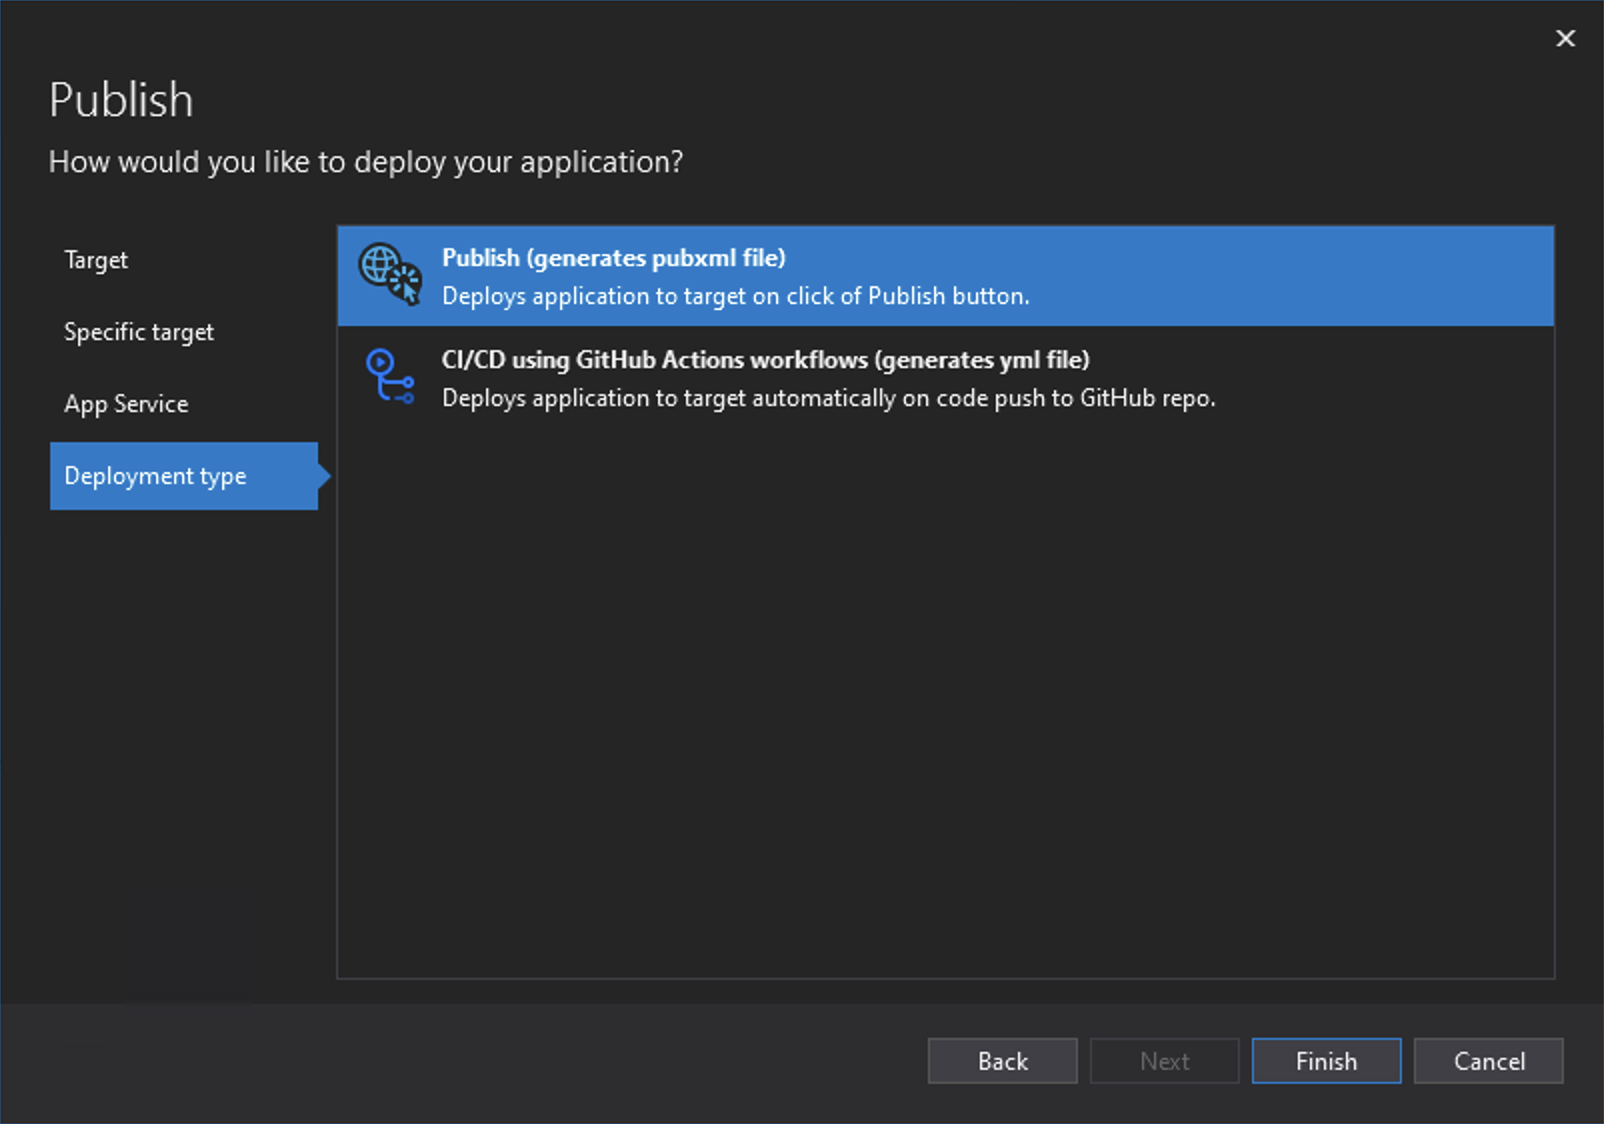
Choose Publish to deploy when the Publish button is pressed. (You could choose CI/CD (Continous Integration/Continuous Deployment) through GitHub at this point.)

In line with the Publish option chosen in the last step, press the Publish button.
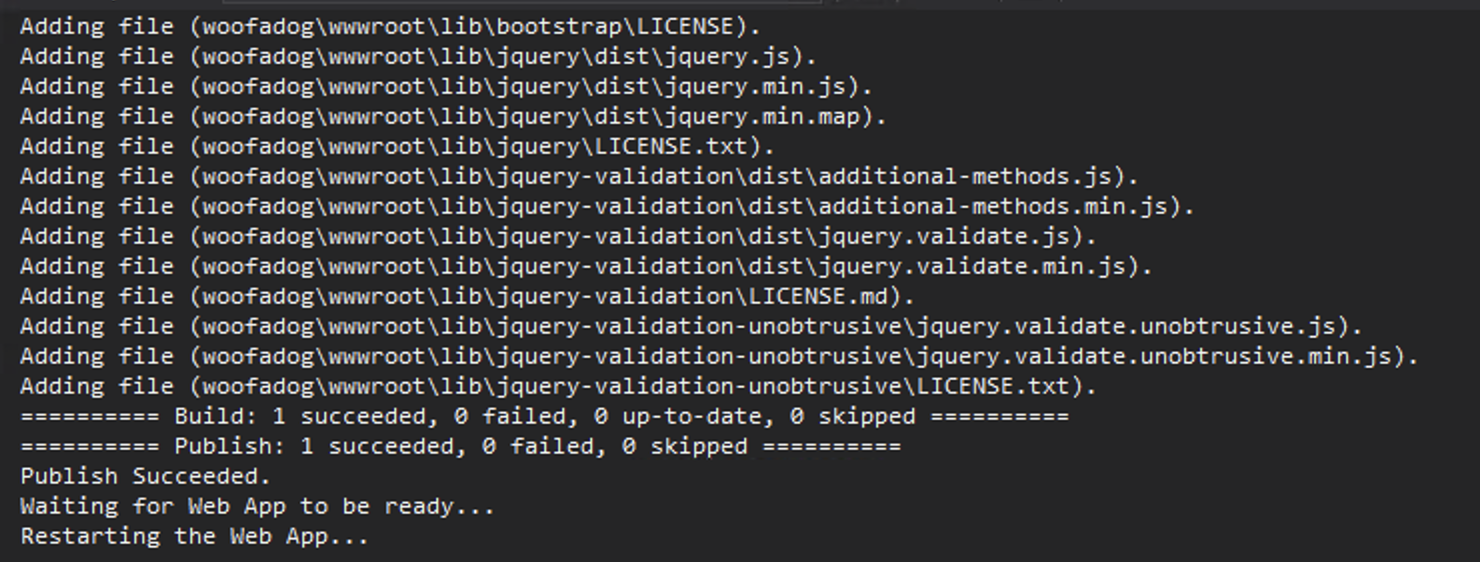
You will now see a series of commands in the terminal as the App is deployed.

You can now view the page through your subdomain.
Note at this point database driven pages will not work. We need to migrate the database to Azure which we'll do next.